


Meeting Yunobo and Finding the Fire Temple
Table of Contents
After speaking with Purah in Lookout Landing, Link discovers that the four major regions of Hyrule have been plagued with strange phenomena that are putting the residents’ lives in peril.
In the northeastern portion of Hyrule, the Eldin Region, Link must seek out the Goron people and help them restore peace to their home.
This guide covers portions of Tears of the Kigndom‘s “Regional Phenomenon” and “Yunobo of the Goron” main quests.
Reaching Goron City
To begin this portion of the “Regional Phenomenon” main quest, Link must travel to Death Mountain. The mountain is located in the center part of the Eldin region, north of the Woodland Stable.
Useful items to bring with you
- A full armor set (any type) for defense
- health-restoring items and meals
- Water-producing items
- Multiple melee weapons, shields, arrows, and bows.
Starting from Lookout Land, travel northeast to reach the Death Mountain trail base. You will find it near the Woodland Stable heading north. There are various locations to explore, enemies and overworld bosses to defeat, and additional quests to unlock between Lookout Landing and your destination. None of these explorable features are essential for reaching Goron City, however, so you may complete or ignore whichever you want.
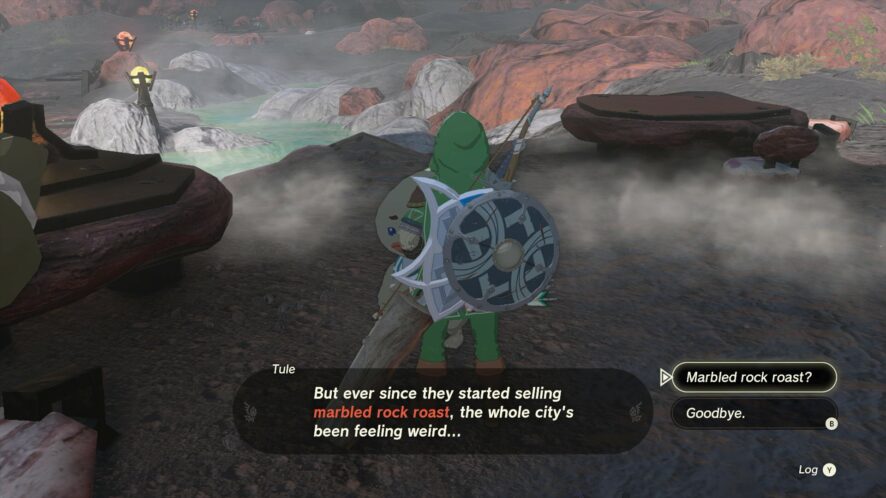
When you reach the fork in the road where you could either go north of south, go south. You’ll find the Bedrock Bistro and a few Gorons at the end of this part of the trail. Speak with them to learn about the Yunobo Co. and the Marbled Rock Roast that all of the Gorons seem to be obsessed with.
You can also speak with a Hylian named Mazer, who wants to make a trade with the Goron Cooke. By listening to them, you can unlock the “Meat For Meat” side quest.
After investigating the bistro, head west up the hill a bit to find and activate the Timawak Shrine. After activating or exploring the shrine, head north to continue following the trail.
NOTE: As you explore Death Mountain, collect any Fireproof Lizards that you find. You can cook the lizards with monster parts to make Fireproof Elixirs, which are invaluable when exploring the fiery portions of the mountain.
On the trail close to the city’s entrance are a pair of Gorons busy eating Marbled Rock Roast. These Gorons will offer to buy any ore you have for three rupees. This interaction will ultimately allow you to activate the “Amber Dealer” sidequest, but do not accept their deal. Continue up the trail to find Goron City.
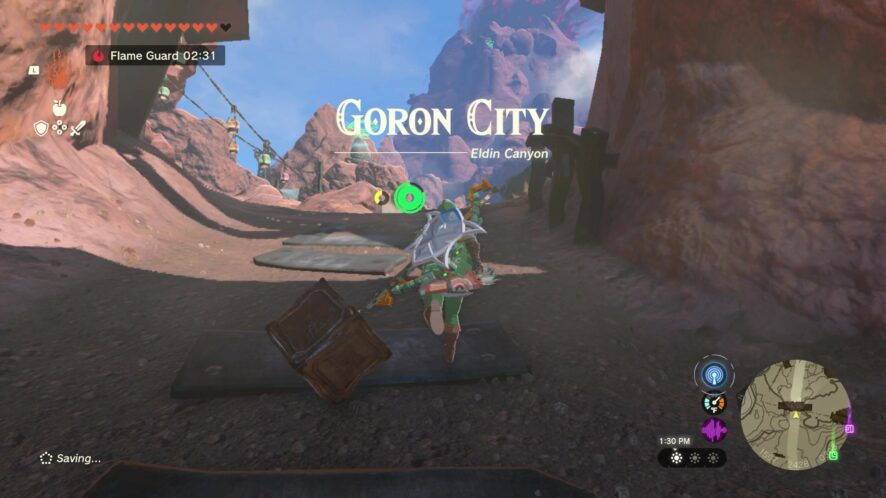
There are numerous characters to speak with in town, but start by activating the Marakuguc Shrine to create a travel point. After doing so, speak with Bludo, the Goron elder. He is near the large pile of Marbled Rock Roasts in the center of the city. This will trigger a cutscene where Yunobo arrives.
Like all of the Gorons who can eat the roasts, Yunobo is acting bizarrely and leaves to find more rock roast. Bludo wants to follow him to the northern mining site to find out what’s the cause of the strange shift in attitude, but his back pain makes doing so impossible. It’s up to Link to go in his stead.

After talking with Bludo, you can also feel free to speak with the other characters in town. The adult Gorons will be behaving abnormally and mostly be of no help, but speaking with some of the younger Gorons and the Hylains will allow you to activate some sidequests.
You can also visit some shops in town to find arrows and other useful items. One shop also sells the fireproof armor, which can be worn instead of using Fireproof elixirs.
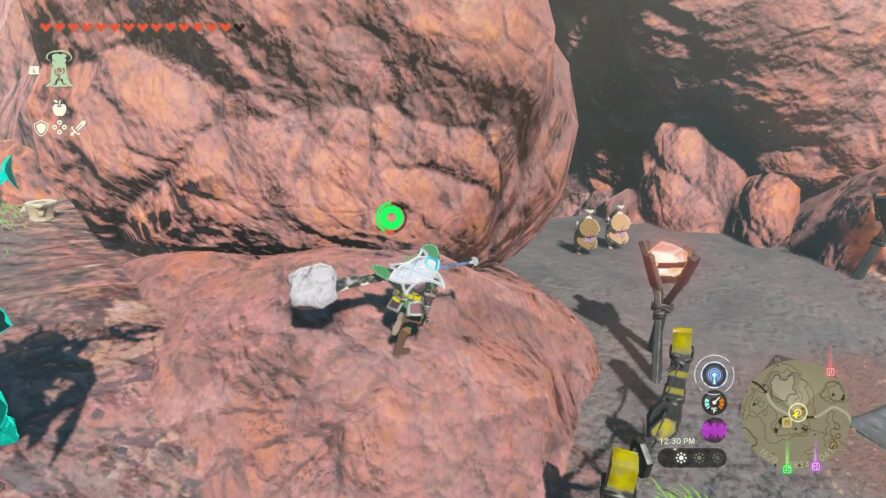
When you are done exploring the city, continue following the trail up the hill to the north. This will lead you to a rail system for mining carts. If you speak with the Hylian Banksha sitting next to the rails, he’ll mention that the Yunoboco HQ is on the other side of the rails.
To reach the headquarters the fast way, use Ultrahand to fuse one of the nearby carts with a Zonai fan, then set the cart on the rails. Climb into the cart and strike the fan to have it carry you to the other side.
Once you reach the headquarters, head east and follow the mission marker on your map to a nearby cave entrance. The two Goron children who were with Yunobo earlier will be standing at the entrance.
The children will tell you about the strange lady Yunobo is meeting with and how he became mean after donning an odd mask the lady gave him. If you promise to help convince Yunobo to stop mining for the rock roasts, they will allow you to pass. Agree to their request and enter the cave.
When you find Yunobo, Princess Zelda will be with him. Before you can speak with either of them, though, the mask will begin to glow and manipulate Yunobo into attacking you.
Boss Battle: Yunobo
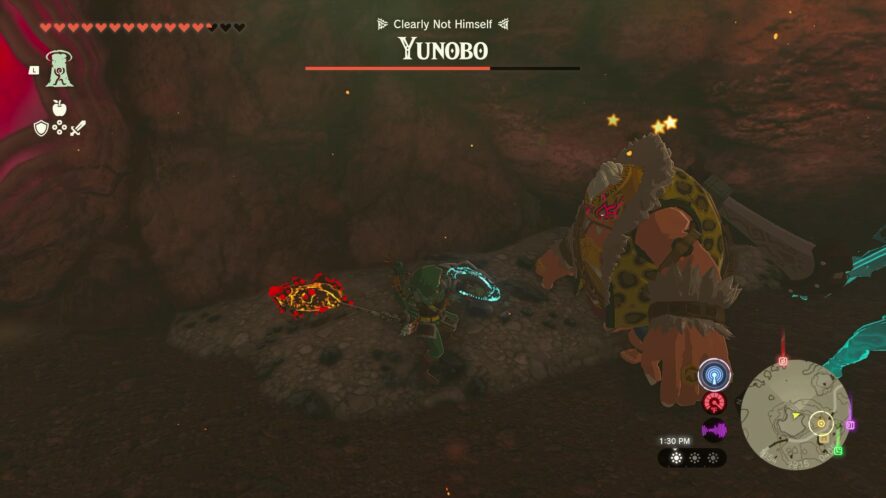
Initially, Yunobo will be unaffected by your weapons and any avatars accompanying you. The only way to make him vulnerable is to trick him into stunning himself.
Yunobo’s only attack method is to curl into a ball and roll toward you to ram you. When he begins his attack, move back to one of the cave walls and wait for his approach. Once charges at you and is close, jump to the side to avoid the attack and make him slam into the wall. Yunobo will stand back up and be dizzy for a few seconds. While he’s dizzy, attack him with your melee weapons until he regains his composure.
Repeat the process of avoiding his attacks to make him slam into the wall until you’ve depleted his health bar. Once he’s defeated, his mask will break and stop controlling him.
Yunobo Joins You
After freeing Yunobo, he will try to follow Zelda, who is standing at the entrance. Before he can, however, the cave will shake and a large piece of marbled rock will fall in front of the entrance, trapping all of you inside. After another cutscene plays, Yunobo will help Link by allowing the Hylian to use his Power of Fire. Aim Yunobo at the fallen rock to shatter it, thus opening the cave once more.
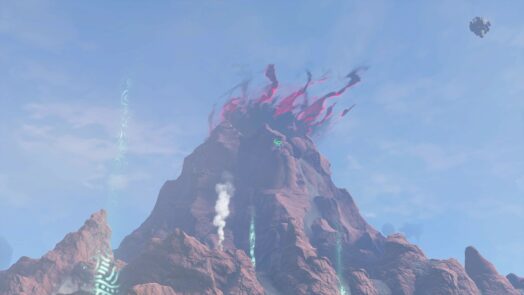
Outside, Yunobo and the others will notice that something is billowing out of the top of Death Mountain. Fearing that it might be signs of an imminent eruption, Yunobo seeks to visit the top of the mountain to investigate.
Return to Goron City and follow the trail that winds up and around the city. This will eventually lead to another mining site with a rail system that wraps around Death Mountain’s peak. Follow the tracks and head southeast to find a number of carts and Zonai devices stored together. Same as before, combine the cart with a Zonai fan, set it on the tracks, and ride it.
NOTE: Make sure you are heading north as you ride the cart.
While riding a cart, Yunobo will assume his ball form and hover in front of the cart. If you press the A button, he will launch himself in whatever direction your have the camera aimed, effectively turning him into a cannon. You will need to use this skill later on, so take this time as you ride the tracks to practice with the controls.
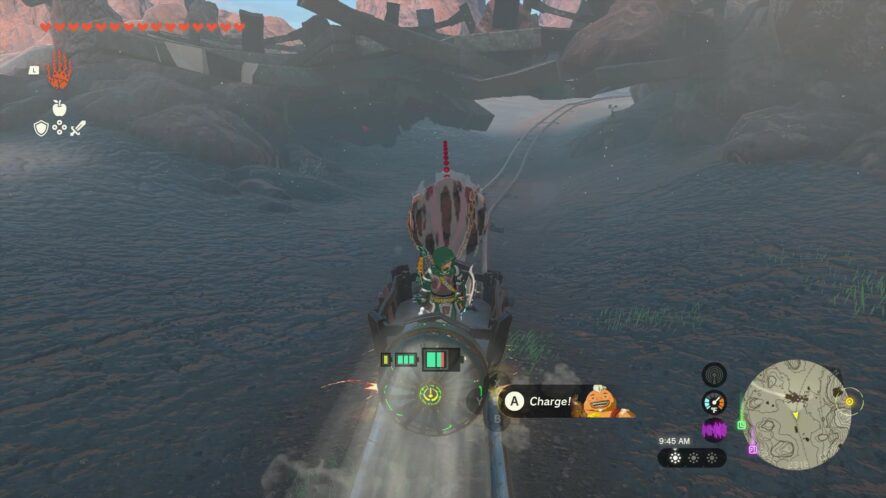
You’ll eventually reach another set of tracks that climb up the mountain and go in the opposite direction. Stop your cart, pick it up with Ultrahand, and set it on these new tracks. Ride the cart again and let the tracks lead you up the mountain.
As you ascend up these tracks, there will be multiple enemies lurking nearby and boulders sitting on the tracks. Use Yunobo and your arrows to destroy the enemies that pose a threat. Only Yunobo will be able to destroy the boulders, so make sure he’s charged and at the front of your cart as you approach the rocks.
You’ll find the Sitsum Shrine at the end of the tracks. Activate it to create a travel point before continuing up the mountain. A cutscene will play at this point, leading to the fight with the monstrous rock creator, Moragia.
Boss Battle: Moragia
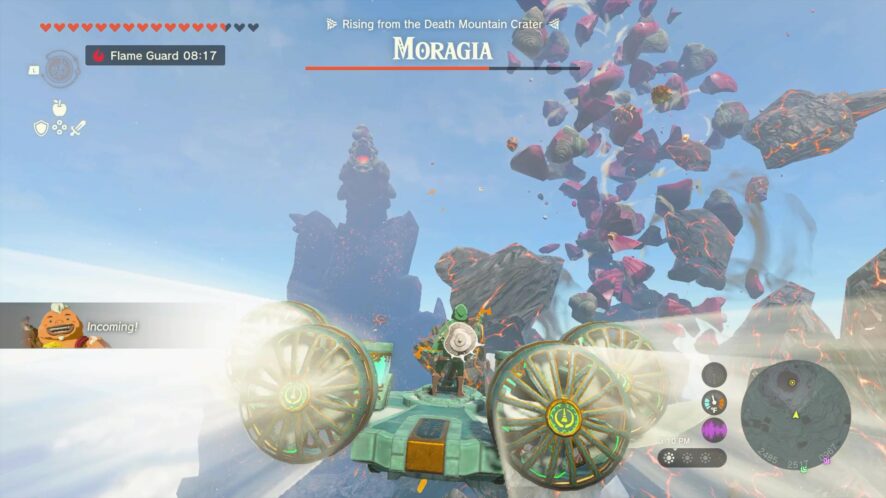
Moragia is a creature that resembles a three-headed dragon and is made of Marbled Rock. The heads work independently from each other and will fire chunks of Marbled Rock at you. Being made of the hardened Marbled Rock, the only thing that can damage them is Yunobo’s Power of Fire.
Use the nearby flying Zonai device to fly into the sky and toward Moragia’s heads. Carefully steer the craft toward one of the heads, then fire Yunobo at it. This will destroy the head in one hit. Repeat this with the second and third heads to destroy the beast.
How To Reach The Fire Temple
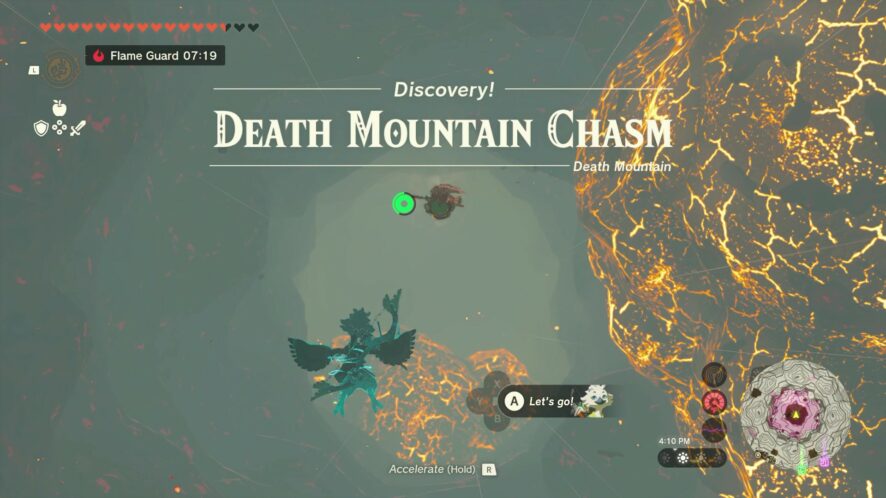
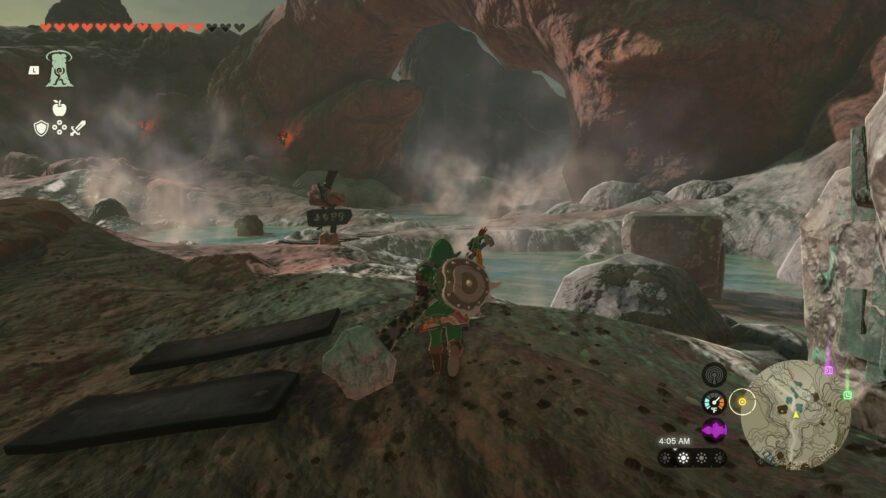
When Morgaia falls, the molten rock covering Death Mountain’s crater will shatter as well, giving access to the opening. Jump into the crater and dive down to reach the Death Mountain Chasm. As you make your descent, you’ll encounter molten pillars that go across the chasm walls at various points. Slow your speed if need be to avoid falling into them.
The first point of interest you’ll reach in the Depths is the Mustis Lightroot. Activate it to illuminate part of the area and to create a travel point. Then, head west to find Yunobo again. After a brief cutscene explains that your goal is to reach the temple in the distance, continue heading west, using Yunobo to break any Marbled Rocks in your way as you do.
Along the way, you’ll find a Zonai Dispenser. Use the machine to fill up on the available Zonai devices before heading north toward the temple.
Here is a list of the Zonai devices available in this dispenser:
- Big Wheel
- Steering Stick
- Portable Pot
- Battery
Cross the land bridge near the dispenser and keep going north to spot the Misisi Lightroot. Go to the lightroot and activate it, making sure to evade the Boss Bokoblin and his minions as you do. This lightroot will be the closest travel point available until you reach the temple.
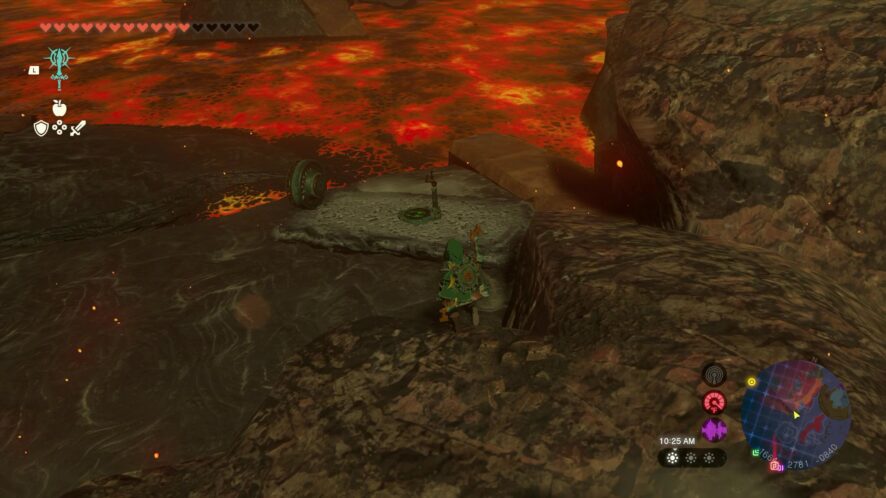
Travel west from the lightroot to reach a lake of lava. The temple’s entrance is on the other side. Explore the shore of the lake to find a stone slab with a Zonai fan and control stick fused to it. Use Ultrahand to set the slab in the lava, where it will float, then climb on and use the slab as a makeshift boat. Steer it toward the other end of the lake on the west side to reach the Fire Temple.