1.2. Road to the Ancient Lab
Table of Contents
Support Zelda’s escape to the Targeted Position
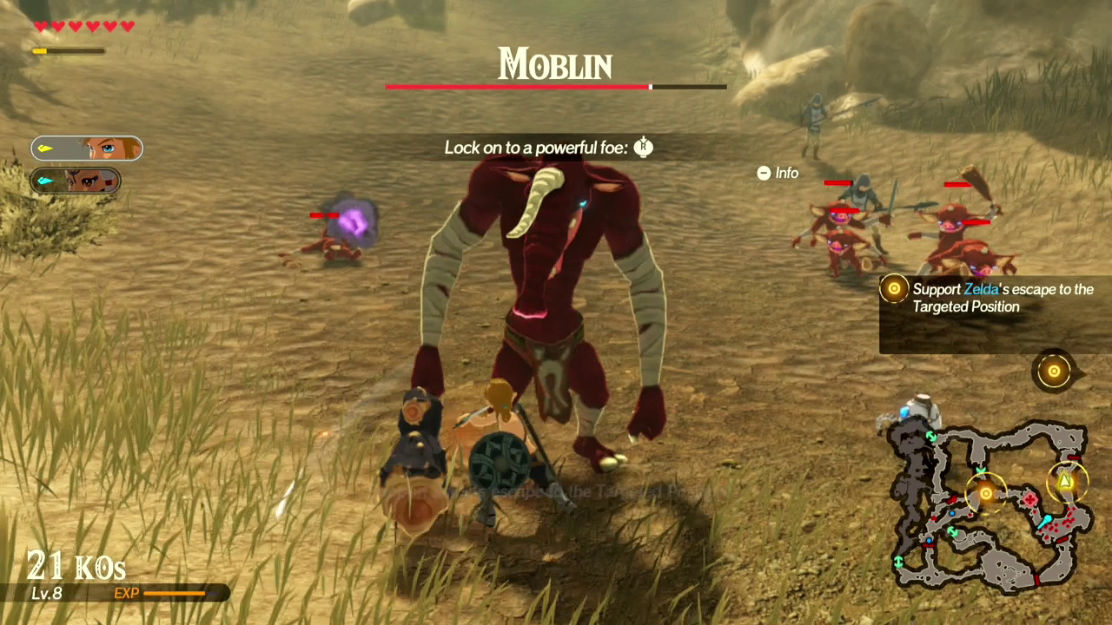
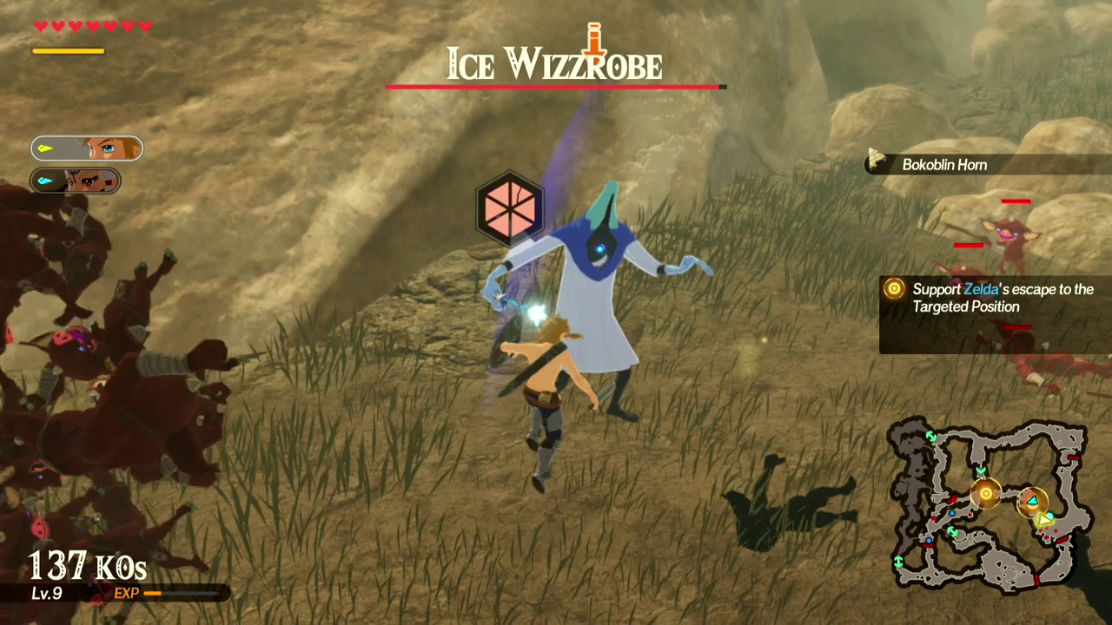
When the mission begins, your first task will be to help Zelda escape to the targeted position on your map. Stick close to her and defeat the groups of Bokoblins, Moblins, and Lizalfos as you progress. Zelda tends to not move forward until most of the enemies near her are defeated. You will also encounter an Ice Wizzrobe along the way – defeat it to earn an Ice Rod. Capture the Outpost once you approach it, as Zelda will not advance until you do.
Zelda and your other fighter can advance without you, so be sure you are keeping an eye on their health levels.
It’s worth noting that you will gain the use of Magnesis in this mission, and will be prompted to use it on this Outpost boss. Using Magnesis is as simple as holding the R-button and pressing the B-button. You don’t have to move anything when you counter an enemy attack with Magnesis, as the game will automatically counter for you if you get the timing right.
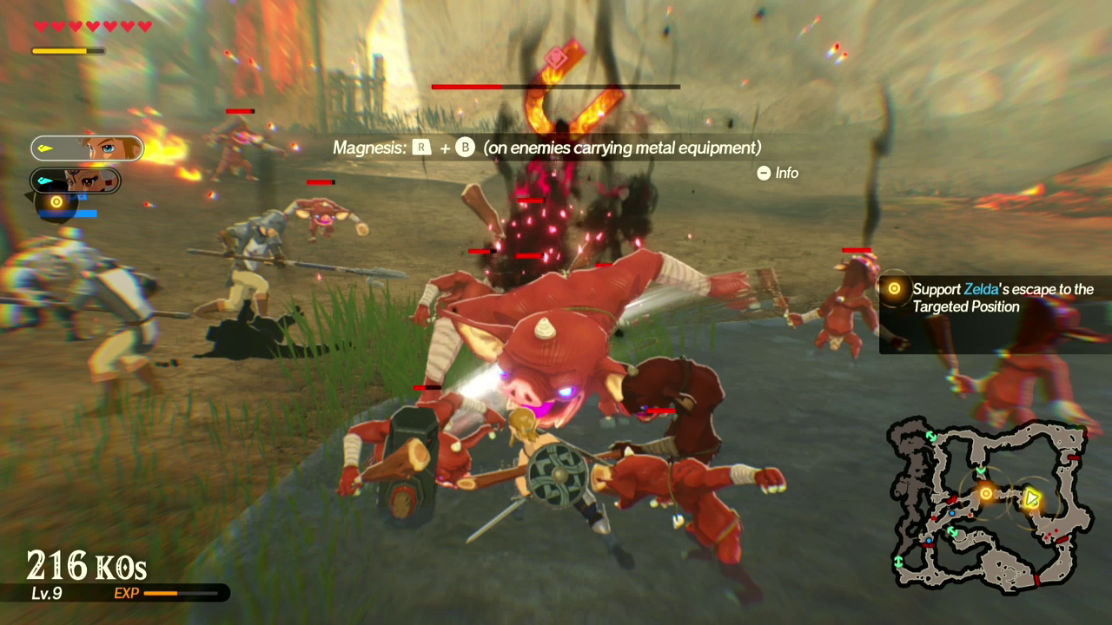
Defeat the enemies in Zelda’s path and use Magnesis to defeat the Outpost boss.
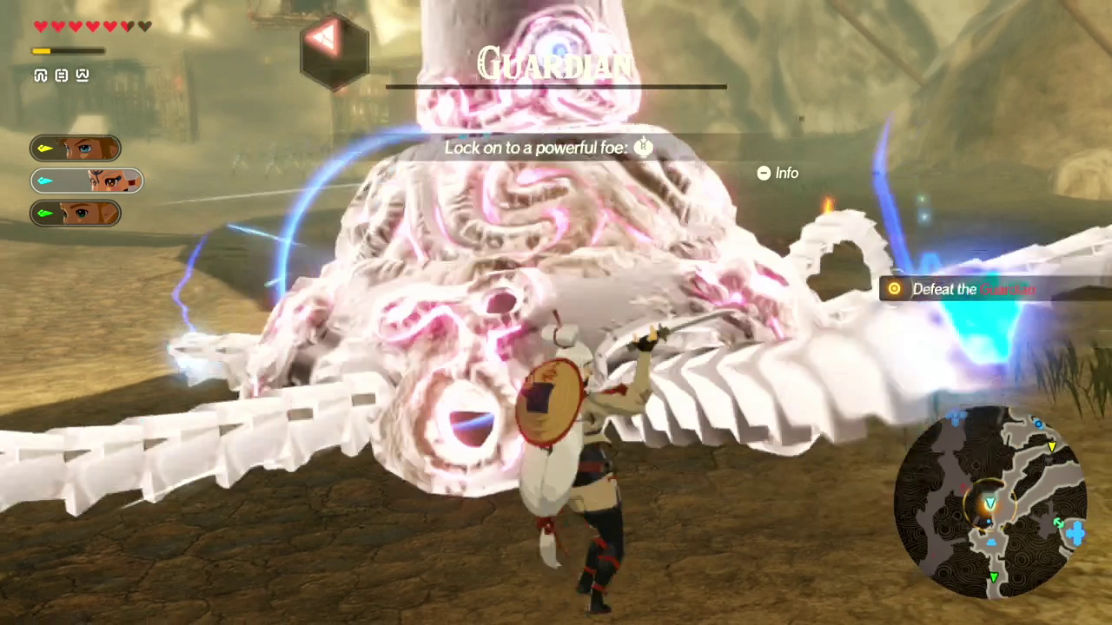
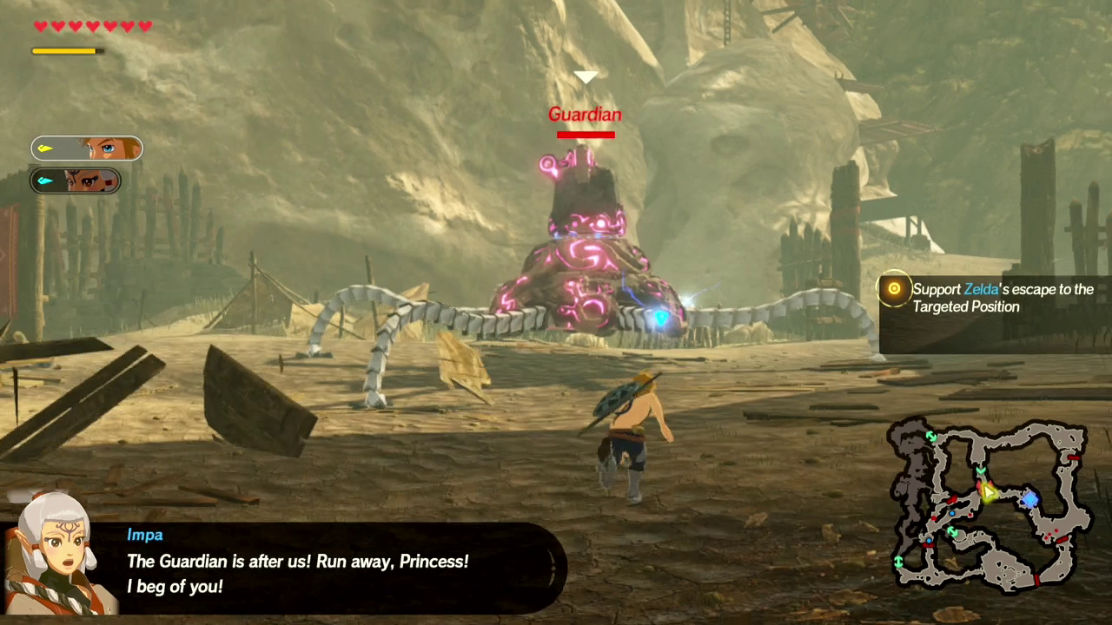
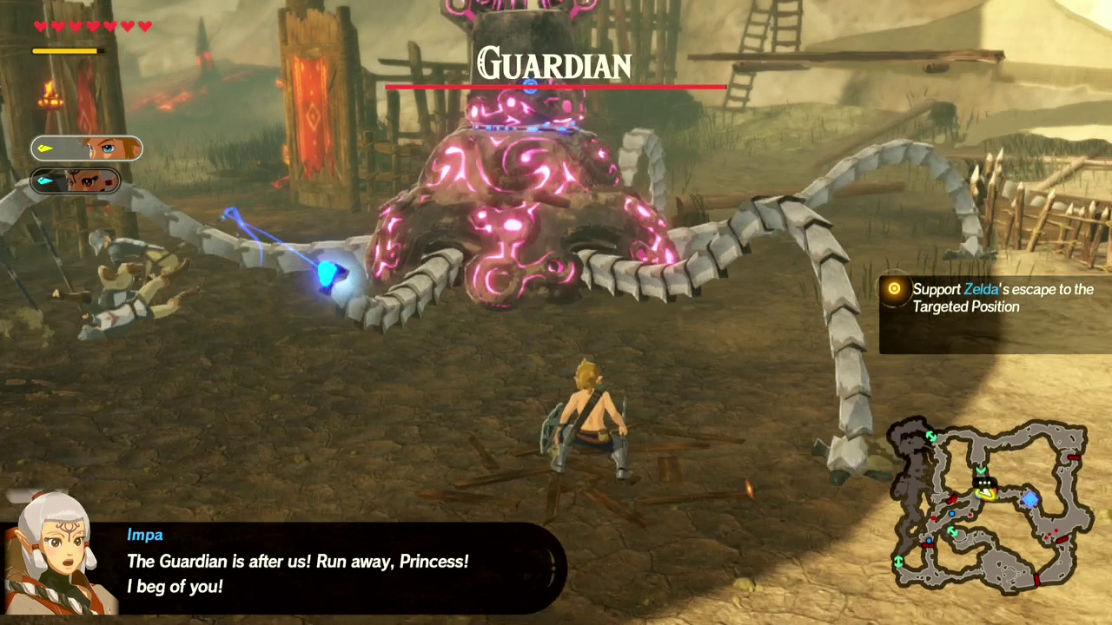
Flee from the Guardian
Upon reaching the target destination, a Guardian will break through the wall. You can try to fight it, but you’ll do little damage to it this early in the game, so it is advised to do as the game says for now and run to the target destination on your map. Zelda must accompany you and will stop if there are any Bokoblins in her path, so run ahead of her and quickly take out the Bokoblins. The Hylian Captains will distract the Guardian, but if you wait too long, it will continue its chasing, so it’s best to get through this section quickly. The Guardian tends to get distracted by the Hylian soldiers, but if you wait too long, it will eventually continue chasing, so it’s best to get through this section quickly.
Allowing Zelda or Impa to fall to the Guardian will fail the mission, so be sure to keep an eye on her health as you go.
Activate the Unearthed Guardians
Your next objective is to activate the Unearthed Guardians which will deal massive damage to the Guardian you’re fleeing from. Link, Impa, or Zelda can activate the Guardians, so you can choose whichever characters you are comfortable playing.
There are two locations you need to visit. You can visit them in either order, but it is quicker to head to the location on the bottom-right of the map first. Head south from the Outpost, and then head east at the junction. Be wary of the Bokoblins that will blow a horn and rush at you, as well as those that throw weapons at you, as they can be annoying to deal with when you’re simply running by.
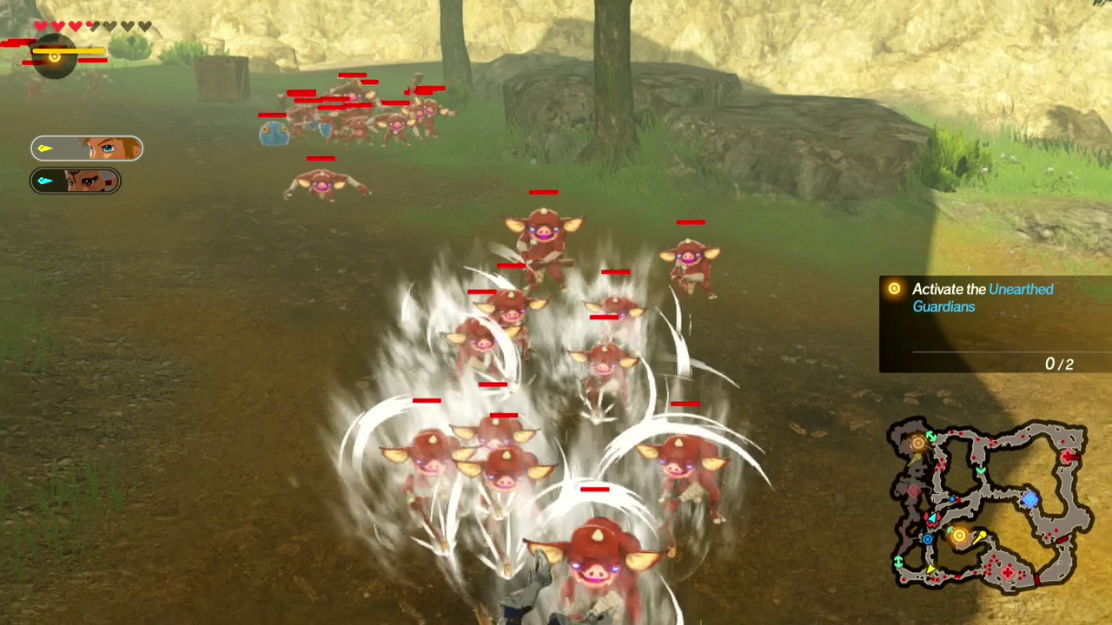
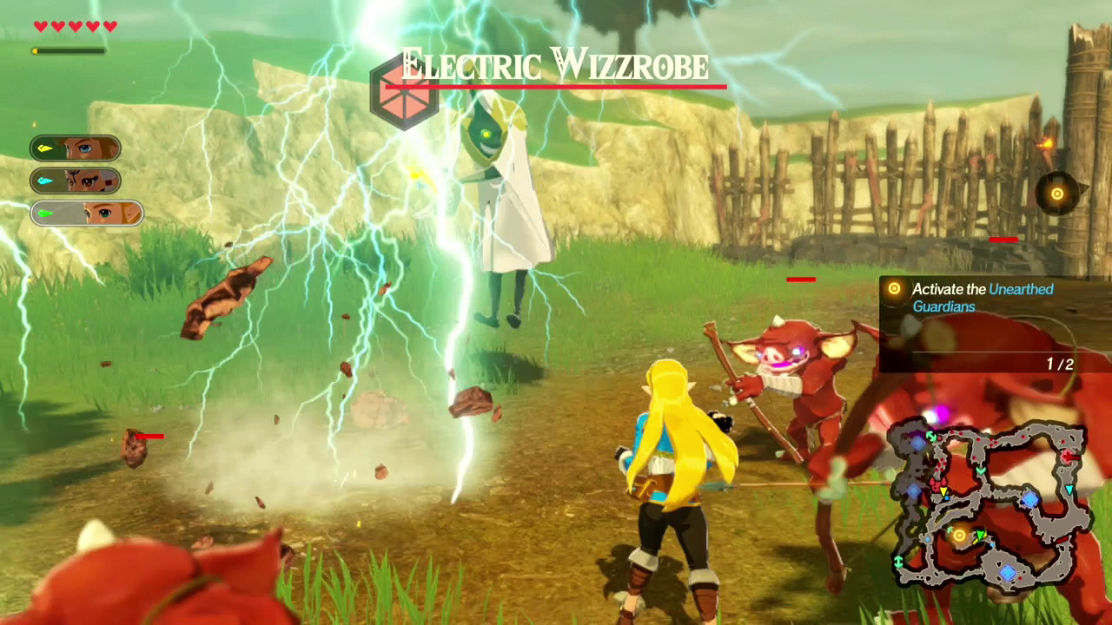
Once you reach the large area with the Outpost, you can head north from here to reach the destination or you can choose to stick around and take the Outpost for extra goodies, but it is purely optional. When you reach your destination you’ll be attacked by an Electric Wizzrobe. Take it out and head to the point on the map. A Moblin will appear when you walk into the Outpost at this area, and you must defeat it to take the Outpost and move forward to activate the Unearthed Guardian.
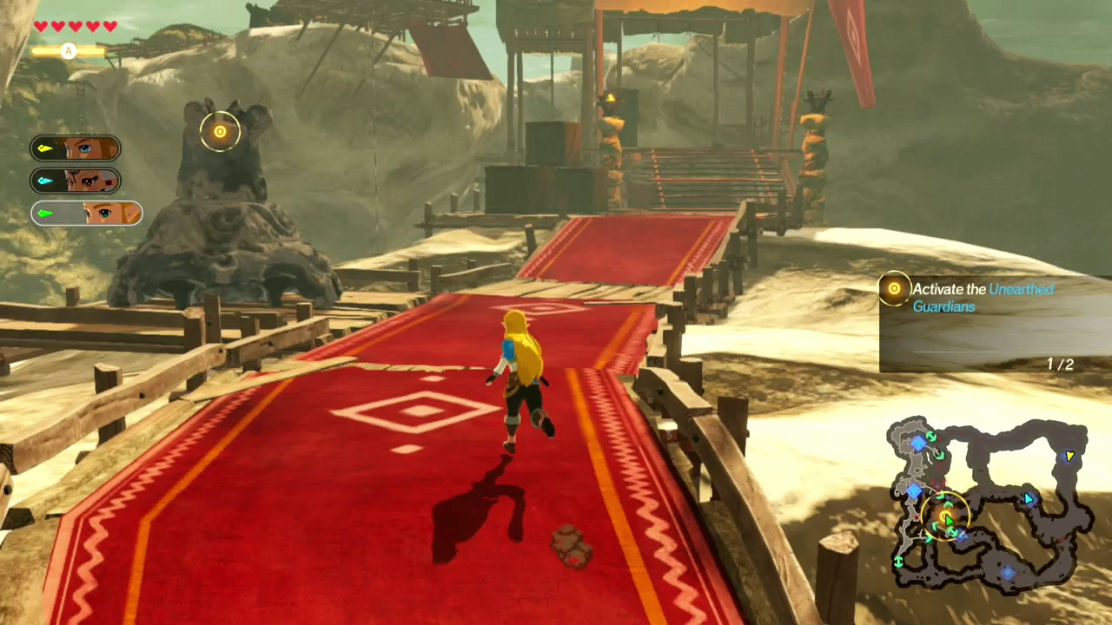
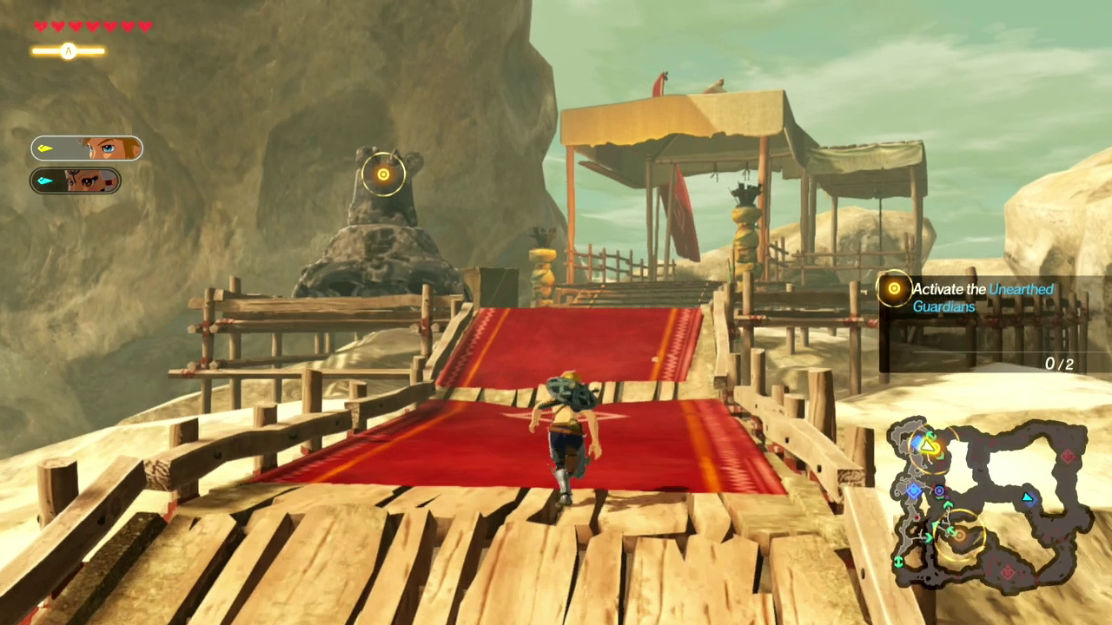
Once you have taken the Outpost, head straight to the Unearthed Guardian on the wooden platforms. Walk up to it and press the Y-button to activate it and do some more damage to the Guardian below.
Head north from the Unearthed Guardian and jump off the cliff to take a shortcut back to the center of the map near the enemy Guardian. You will also gain the ability to switch to Zelda after taking the first Unearthed Guardian. This will happen regardless of which Unearthed Guardian you activate first.
The second Unearthed Guardian is located at the northwestern part of the map. While it might seem like this section is on a time limit, you actually have a lot of leeway in terms of taking your time while running through this map. Switching to Impa is helpful for the next objective because she tends to already be in the northern part of the map, which makes her close to the Unearthed Guardian, but if you want you can run Link or Zelda towards the objective and be fine.
Head north from the enemy Guardian’s location toward the northwestern part of the map, shown as a line with two arrows on the minimap. This indicates a change in map height as you pass by that section and will show you the next section of the map. Once you arrive, you’ll take a linear path that will lead you to the next Outpost. Capture this one, and head to the Unearthed Guardian on the wooden platform and activate it.
Guide the Guardian
Unfortunately, the Guardian is out of reach for our attack, so we must now lure it toward the destination marker. Run forward and jump off the cliff here for a shortcut and head south toward the enemy Guardian. It will likely target you with its signature laser attack when you approach. Try and dodge it as best you can, and once it’s locked on to you, run back north to where the destination marker is located. If you’re having trouble getting the Guardian’s attention, run up to it and whack it a few times and that should make it focus on you.
When the Guardian reaches the destination, a cutscene will play and the Guardian will be severely weakened. All that’s left is to finally defeat this pesky Guardian once and for all.

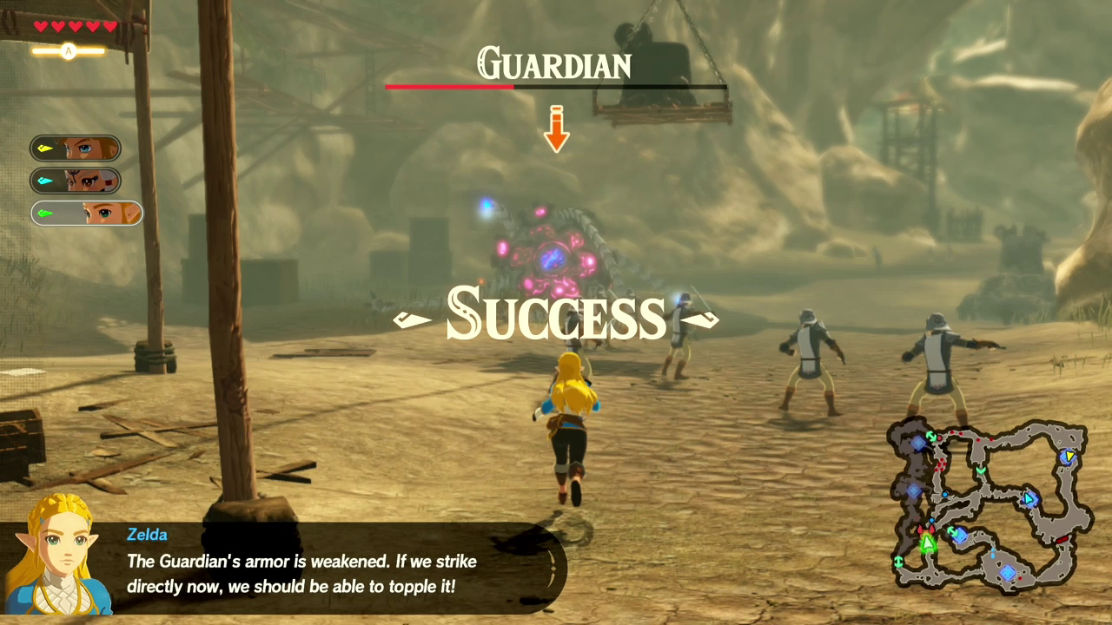
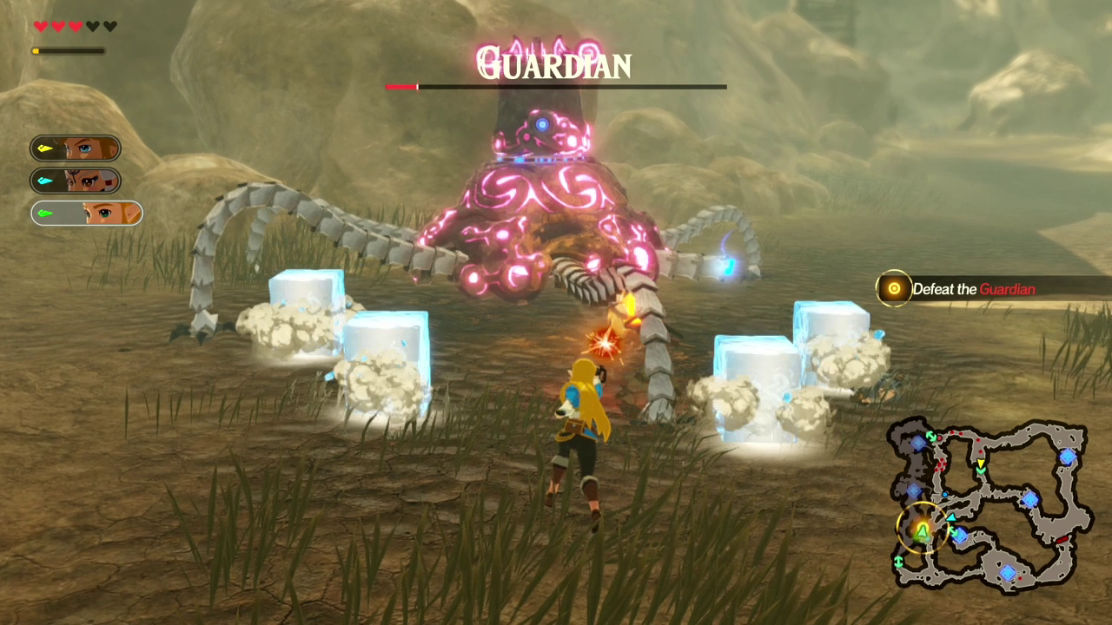
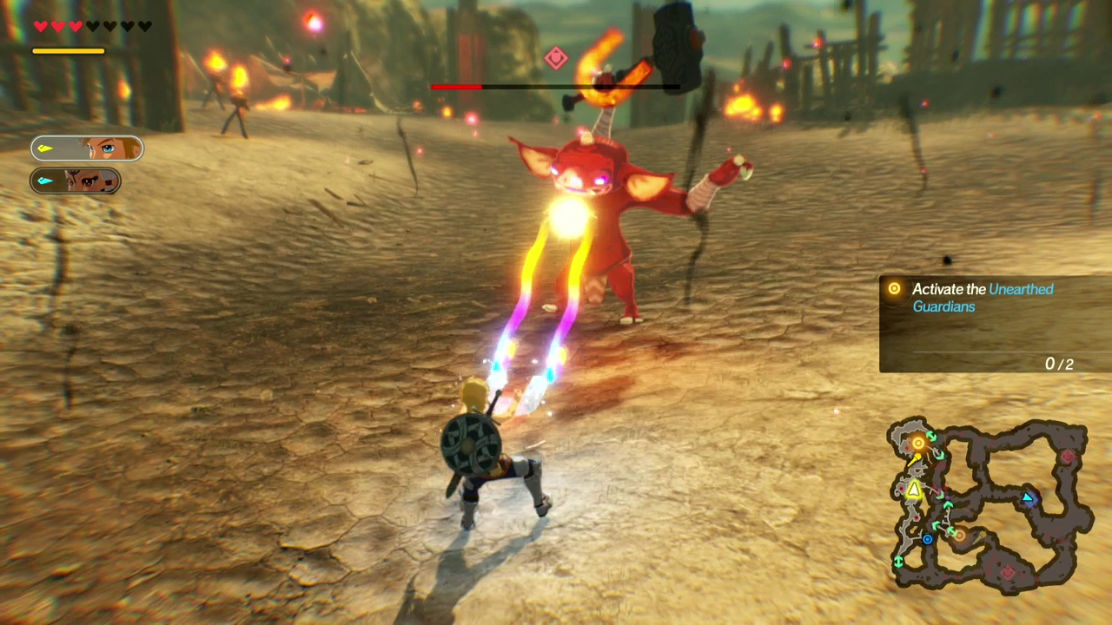
Defeat the Guardian
The Guardian has a few attacks. It will charge and shoot a powerful laser and will swipe at you with its metal arms if you get close to it. It will also leap into the air and pound the ground, dealing damage to anything around it. Keep on the offensive and attack the Guardian as much as you can. Its Weak-Point Gauge will activate after the ground pound attack, leaving it vulnerable to your strongest moves.. It can also be weakened by the elemental Rods you may have picked up earlier from the Wizzrobes. One Weak-Point Smash should finish it off for good, completing this mission.