


Chapter 2: Spirit’s Grave
Table of Contents
Find the Map
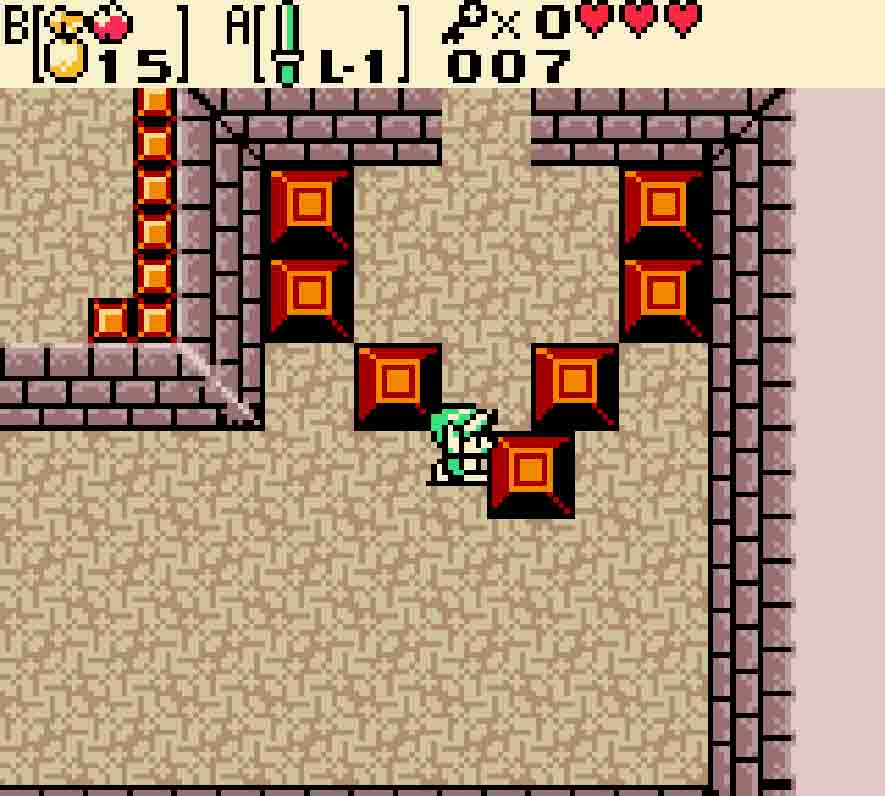
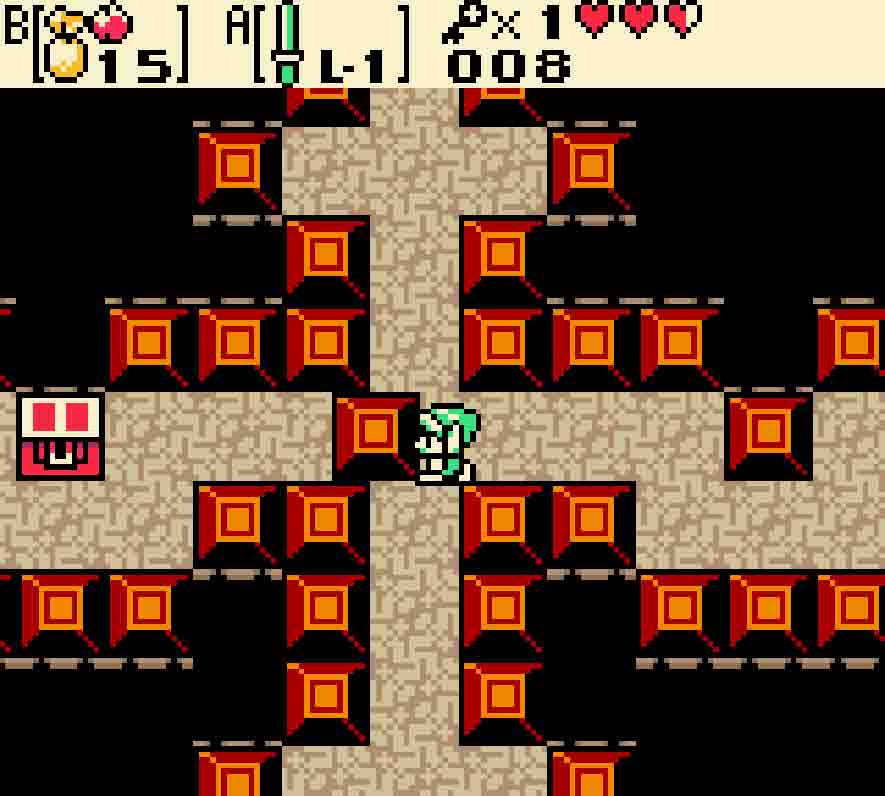
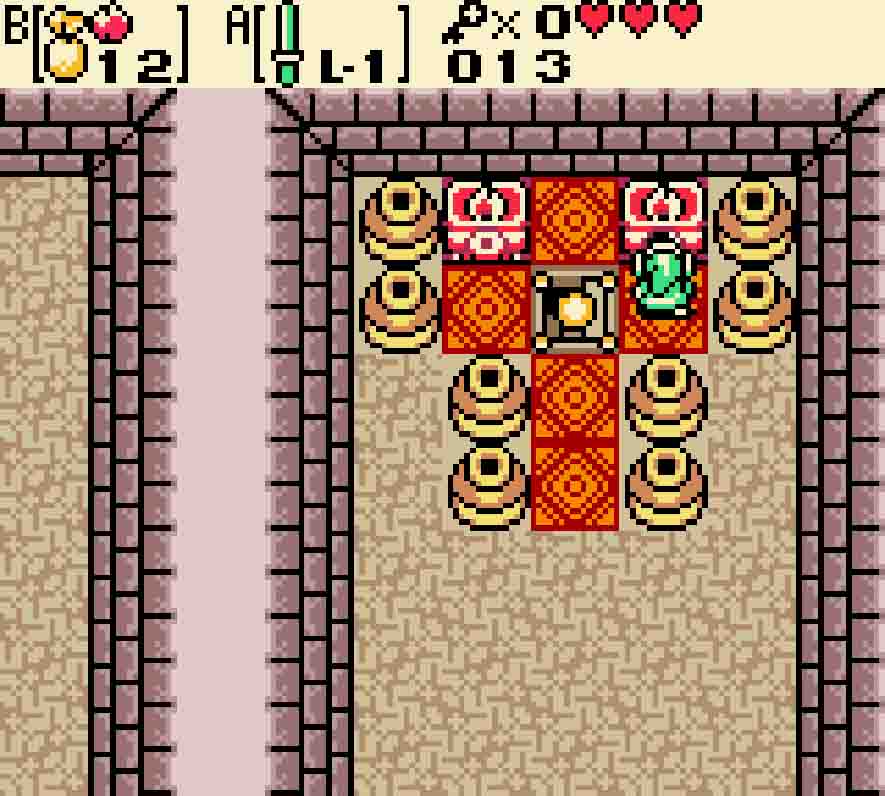
As you enter the Spirit’s Grave, you should first head towards the right. Through the door, you’ll find a bunch of red Zols. After you hit these with your sword, they will each separate into two Gels, which will hinder your movement. Once you defeat all three Zols, push the central block in the collection on the right left or right one square so you can access the now unsealed door.
To the north, there’s a multicolored cube in front of you. You’ll deal with this in just a moment later, but for now just push it north two squares to escape the enclosure. Then immediately take the stairs to the left and return southward. Once you do so, you’ll obtain the dungeon Map.
Push the block out of the way so you can head north. 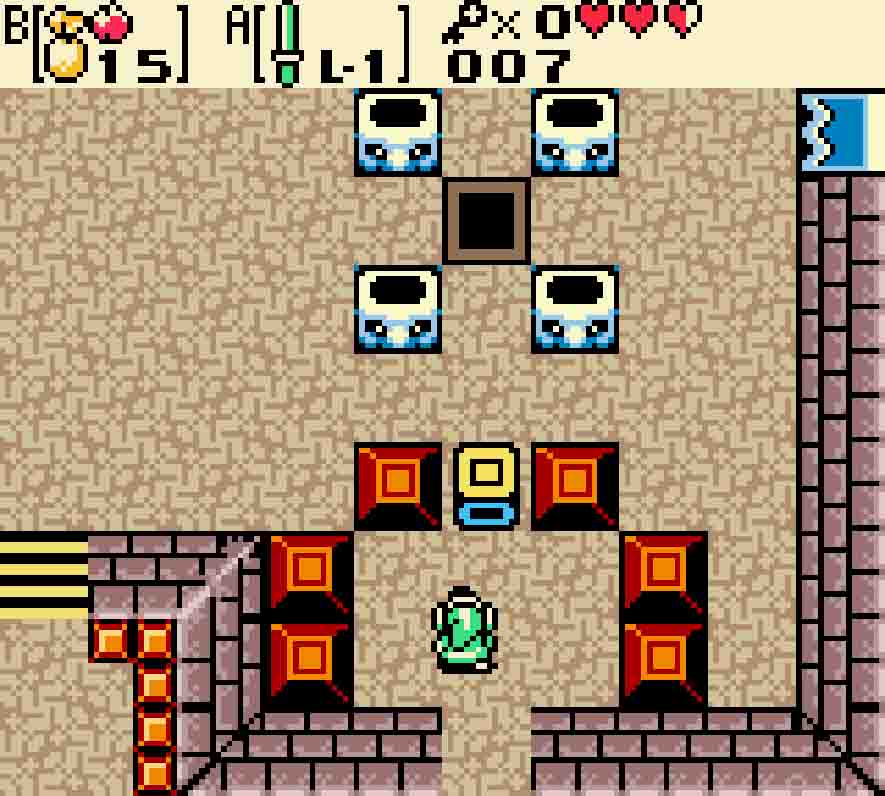
Push the cube out of the way, and head back along the stairs. 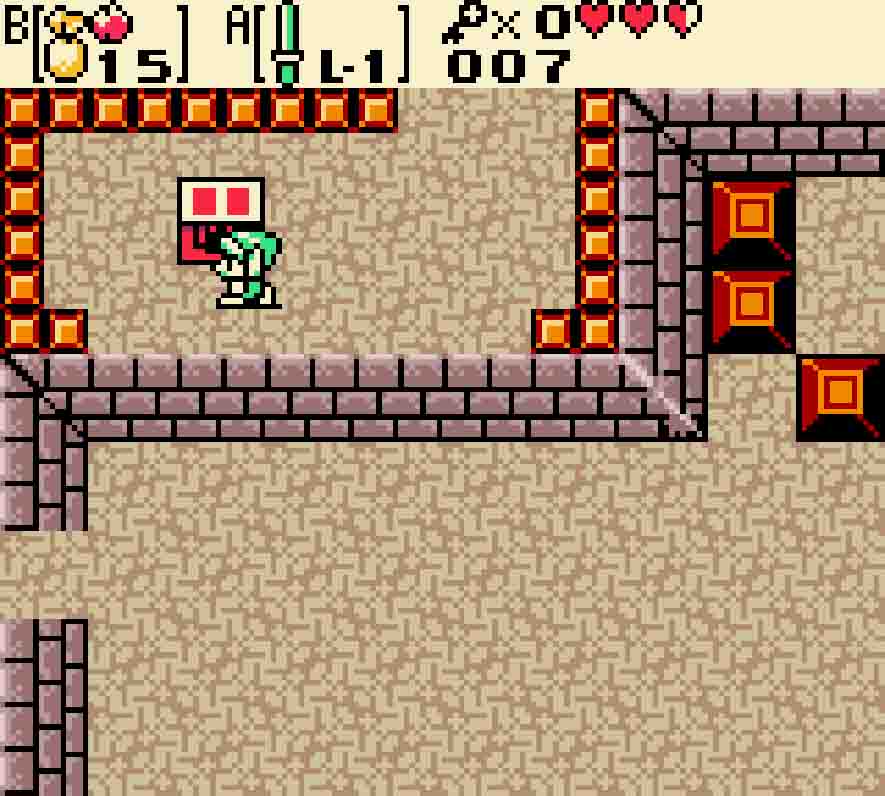
You’ll be on the raised platform where the Map chest is.
Get a key and the Compass
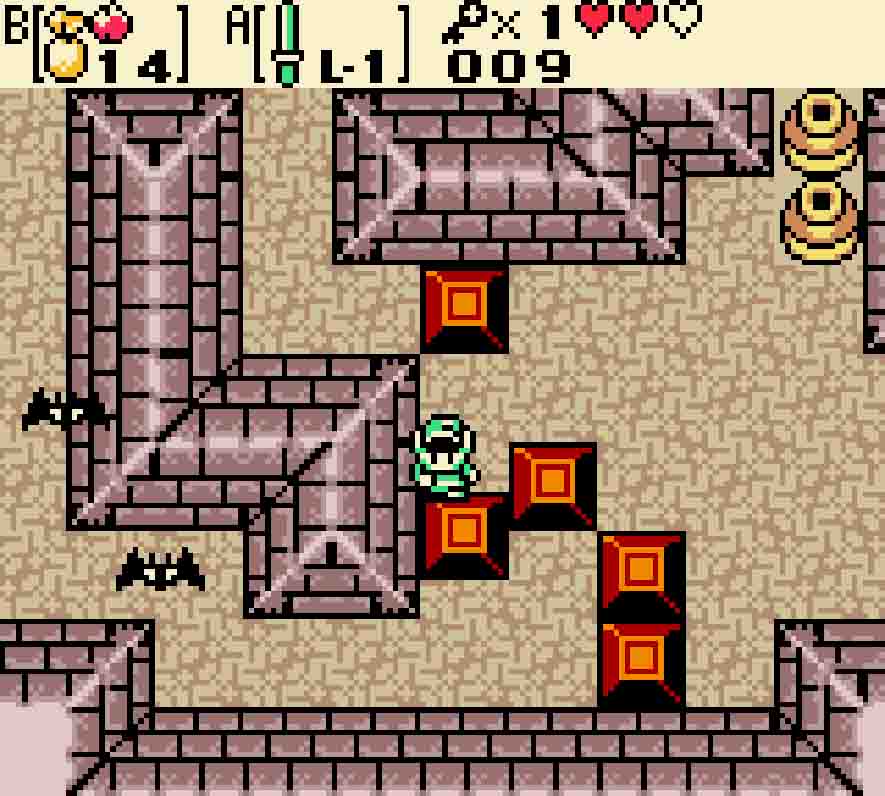
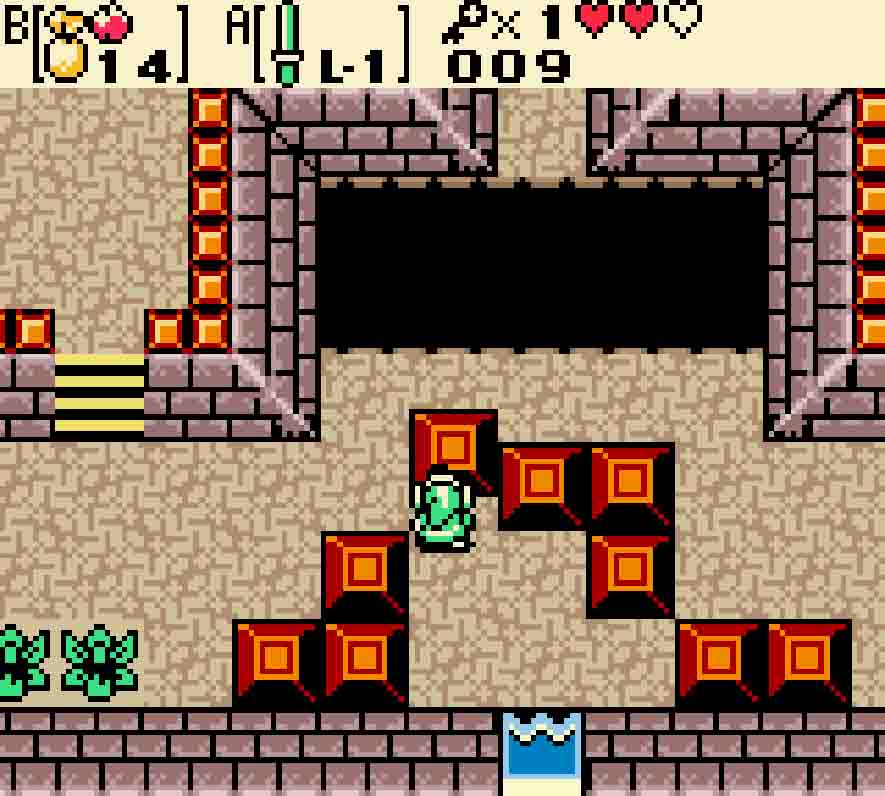
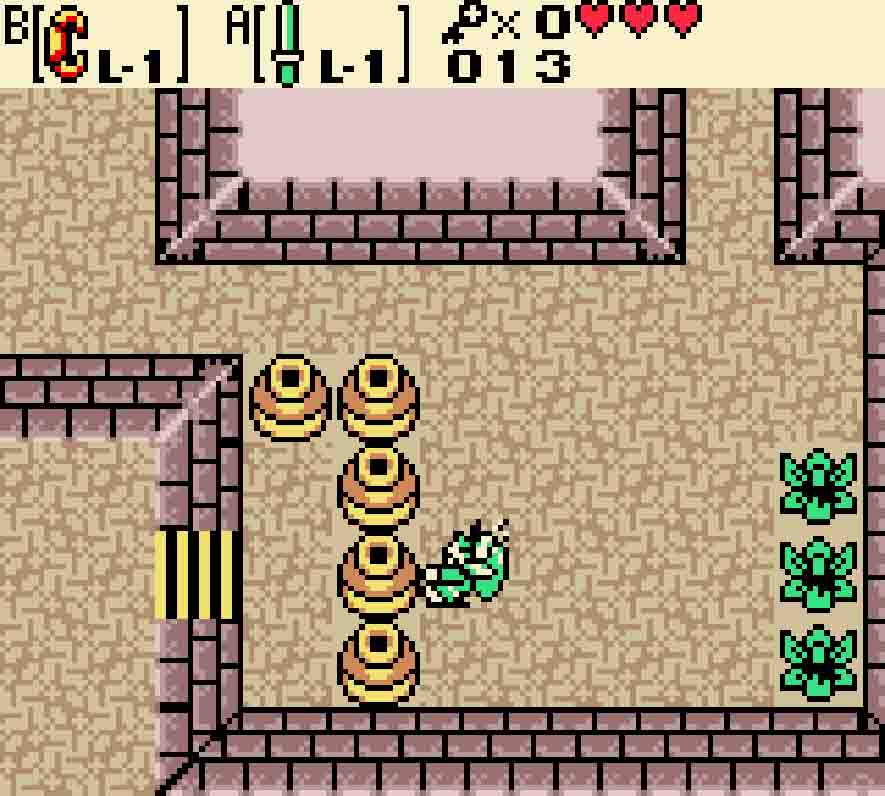
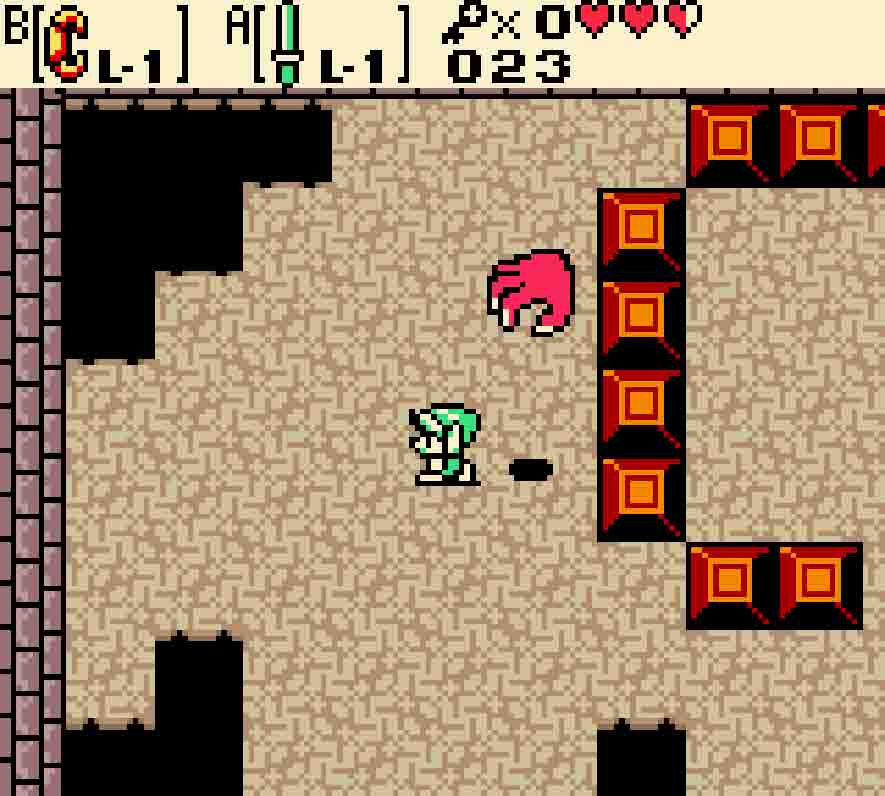
Fall down the gap in the fence back to the floor below, push the central block to the side once more, and then re-enter the room to the north. This time, when going through continue pushing the multicolored cube upward until it comes to rest in the black square in the middle of the four empty torches. Naturally the way you push it, it will end up with a blue side facing upward, meaning the torches will be blue. (You can think of the blue color being a substitute for green, the universal “go” color. However, likely thanks to red/green colorblindness, blue is used instead of green.) Once you do this, both the doors to the north and east will be unsealed.
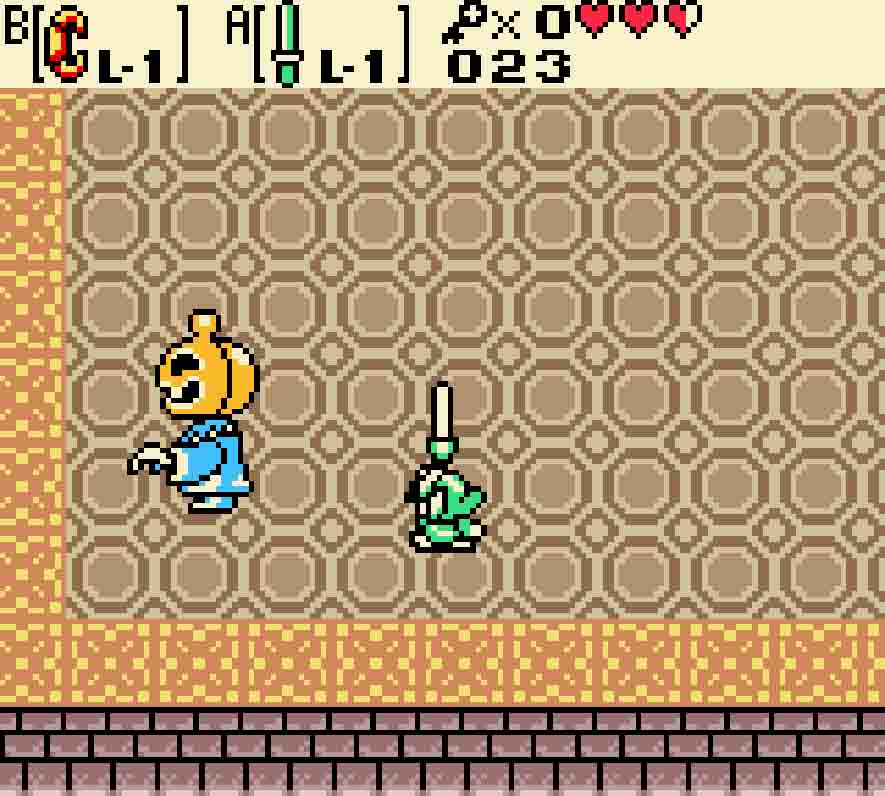
You could go for the Compass now, but you’ll have to pass it later on, so head to the east for now. A pair of Stalfos will be in the next room; again, they’re not too tricky; simply slash them with your sword and proceed to the north. You’ll then encounter a Ghini, a ghost-like creature. It will travel mainly in cardinal directions, through walls, and wherever it pleases. It’s pretty tough, so it’ll take several hits to kill. However, once you kill it, a key will drop down from the ceiling. Collect it and move westward.
Exit to the north after pushing this block. 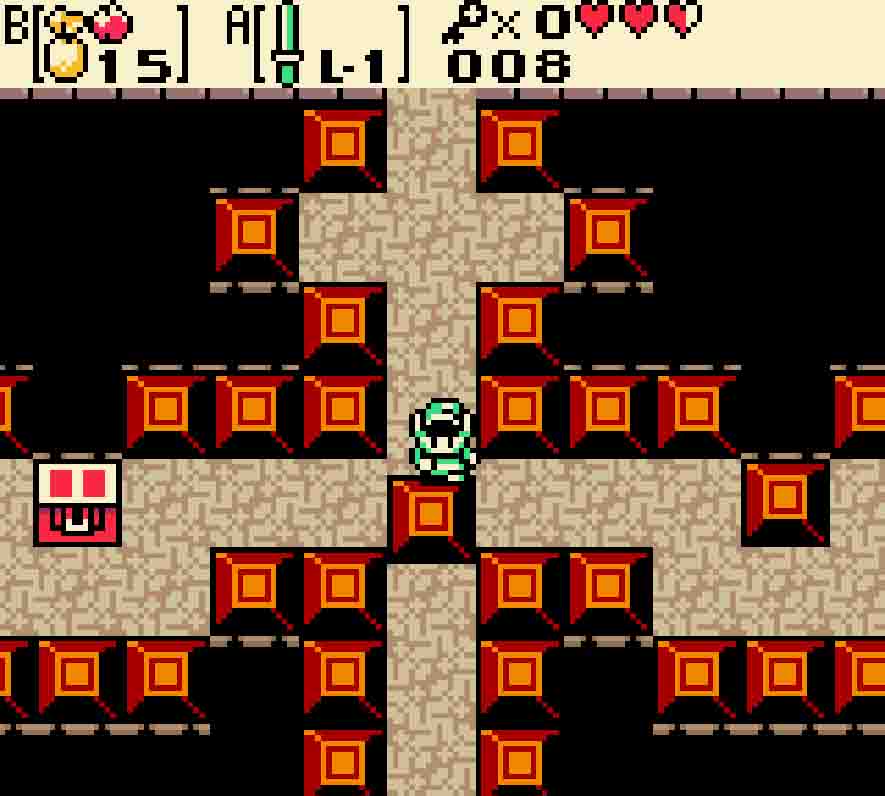
Then come back to claim the Compass on the left.
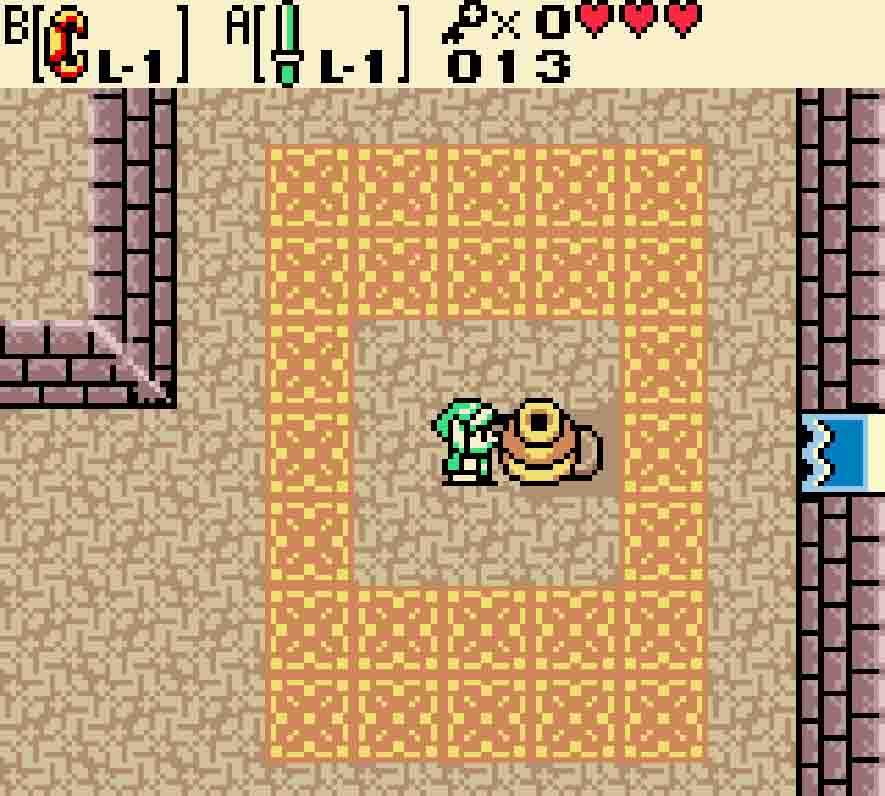
You’ll now be in a four-way room, but there’s a block in the room’s center that, when pushed will seal off one of the four directions. The chest with the Compass is in that chest on the left-hand side of the room, but you won’t be able to get to it from this side. As a result, push the block left, and then head north, unlocking the door. Immediately U-turn and come back to this room in order to reset it. Now you can push the central block down, allowing you access to the left-hand side to get a chest.
Put a Ring on It
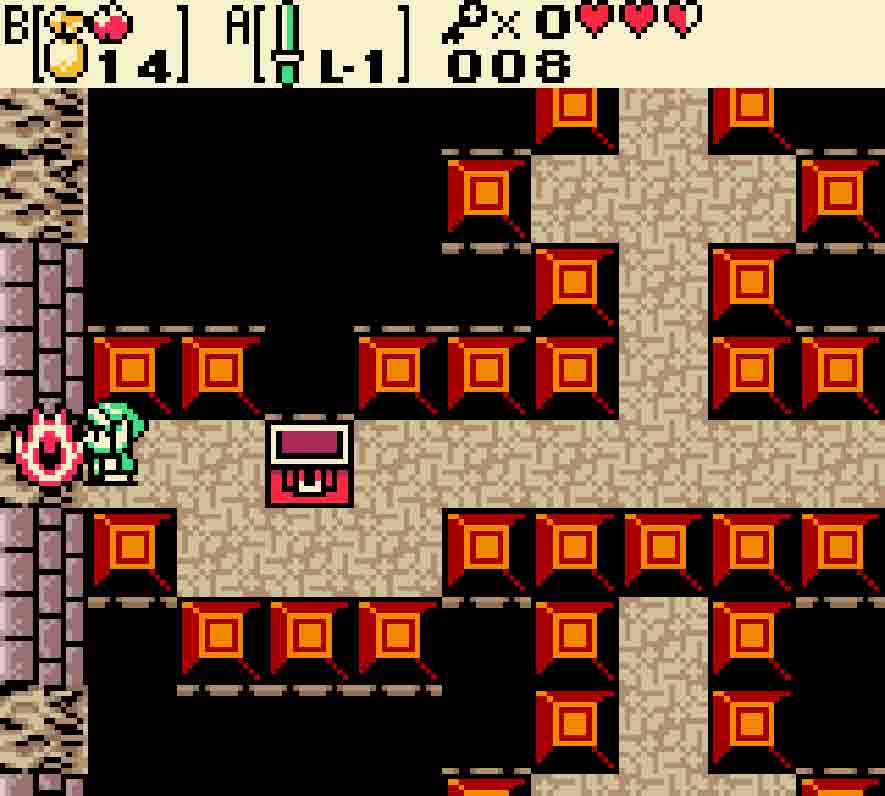
You can actually burn the vines alongside the western wall of this room by using an Ember Seed. This will expose a secret room with a very nice prize. In order to collect it, simply climb the steps and jump on the button atop the dais. It will make the chest appear, and opening that will grant you the L-1 Power Ring to your ring collection.
Earn two more keys
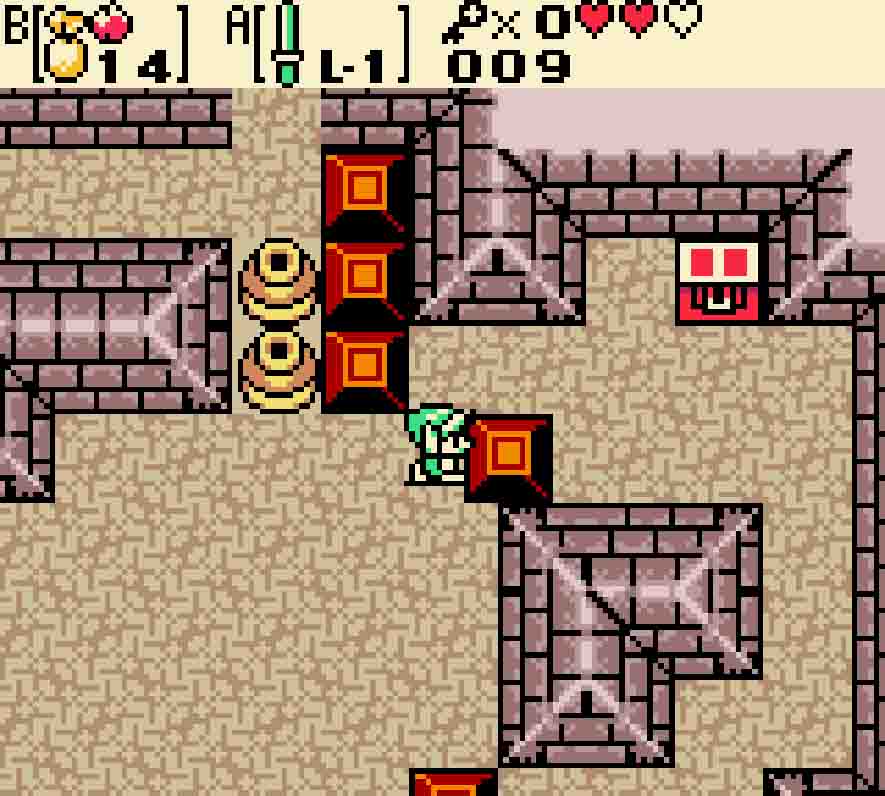
With the Compass in hand, head back north to continue your trek through the dungeon. Keese will await you there, but those are easy to take care of. The first key is right in front of you off to the right. Simply push the far block one square in order to gain access to it. After that, there’s only one direction to go, and that’s to head west.
There’s more Keese there. Blocks block all of the major passageways, though you can maneuver the ones along the southern wall to fix that. With the four blocks there, push the upper-leftmost one down one square and then the one to its right to the right. Then you can follow this windy passageway around the exterior of the room. However, don’t take the doorway north just yet; continue east back to the room you just came from; then head north there.
Push the leftmost block down as your first step. 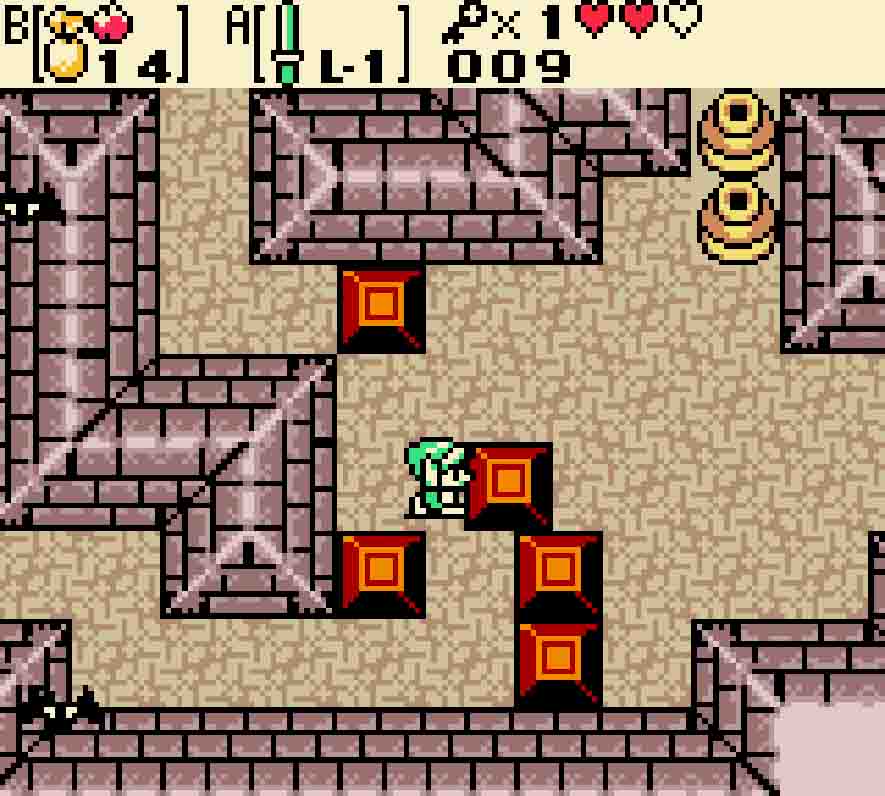
Then you can push the next block right to make a passageway.
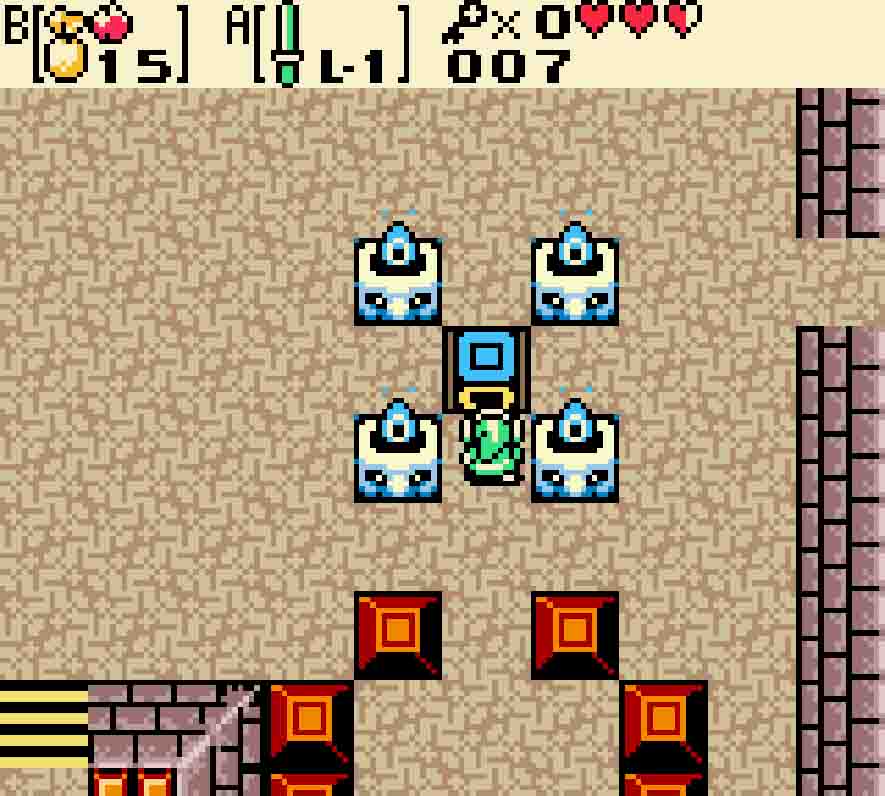
There’s another block puzzle before you. Start by moving the middle block up one square. Then move the blocks that used to be to either side of it out a square. This will then let you move the blocks above you up one square, thus giving you access to both sides of the room. Both sides of the room have a switch on the raised platforms. Once you depress both of the switches, a floating platform will appear within the pit in the room’s center. It will move left and right, allowing you to get on from the edges. Step on, and then use it to take the upper passage between the two raised walkways. This will lead you to your second key.
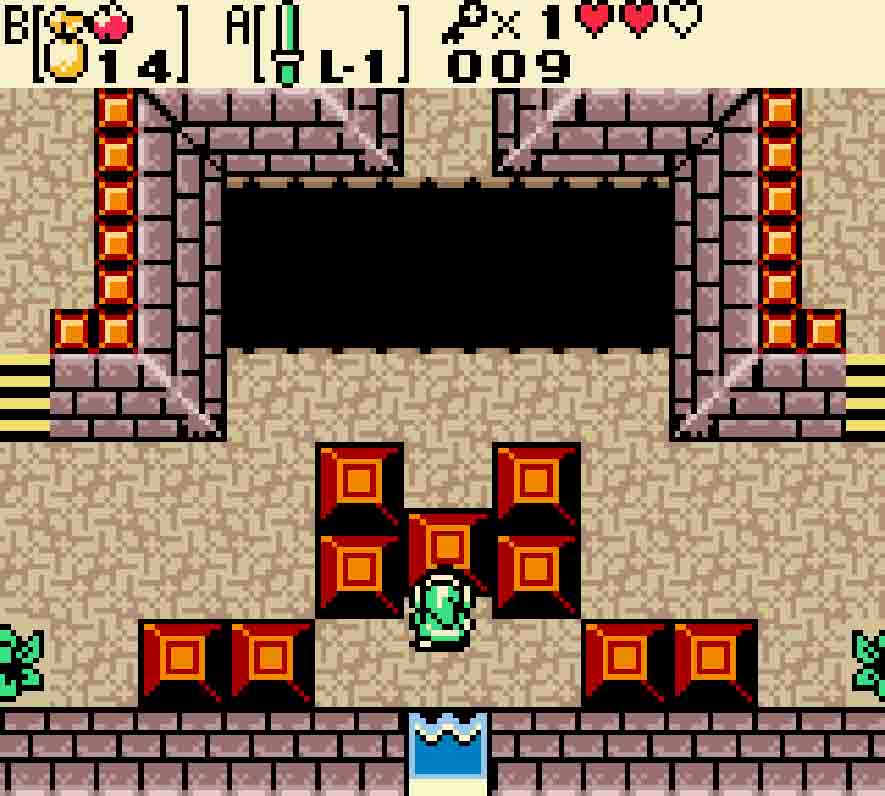
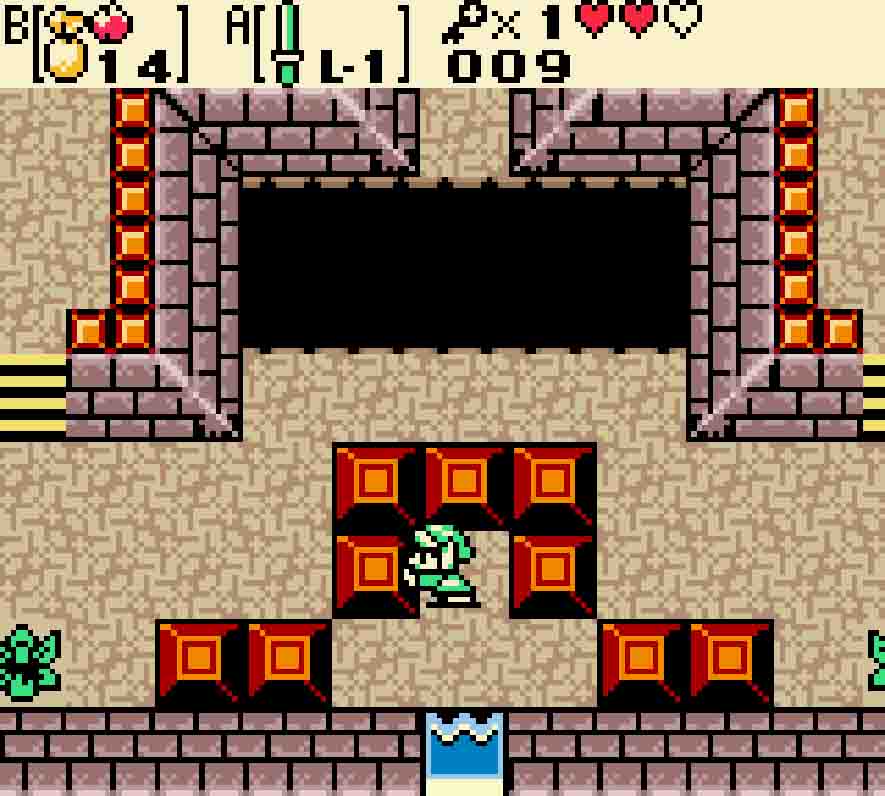
Once you push the blocks on one side out of the way, repeat the pattern for the other side.
Defeat the Giant Ghini
From here, return back south and then west. You can now forge new ground by proceeding to the north. You’ll encounter yet another room that’s a proverbial block maze. You only need to simply walk onto the moving platform and continue on through the western exit, but you also have the chance to earn a Gasha Seed here as well. Walk onto the moving platform, and then get off at the northeastmost platform. Push the central block in the intersection right, and then follow the pathway. Eventually you’ll reach a switch in the upper-right corner. Step on it, and it will cause the chest with the Gasha Seed to appear. Then simply climb the raised platform and leap onto the moving platform as it comes close so you can head west.
The next room is pretty empty with just a few bushes guarding each of the entrances. Cut them down, and then use the first of your two weeks on the door to the south.
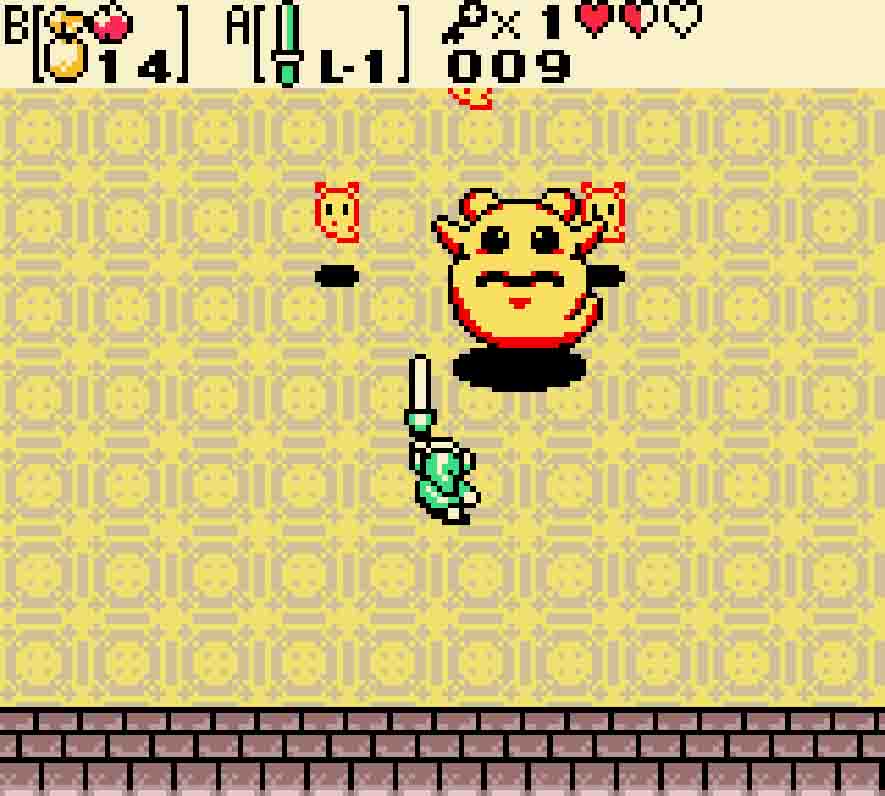
It’s in this room that you’ll encounter your first mini-boss of Oracle of Ages the Giant Ghini. This Ghini is just a supersized ghost, but it’s really about the same level of difficulty as the normal Ghini. As a liability, however, is that its size makes it very easy to hit. What it does have as assets are the fact that it’s got a little more health than a regular Ghini and that it will occasionally spawn three miniature versions of itself to come attack you. If those miniature versions hit you, you’ll slow down; repeatedly slash your sword to get them off.
Clear out the miniature Ghinis whenever they spawn; then stick your sword in the Giant Ghini. After enough damage, it will kick the bucket. In its wake, a fairy will appear as well as a teleporter that will connect this room and the beginning of the dungeon. It will be helpful later.
Claim the Power Bracelet
From here, head west. Two Moblins will be patrolling the room, and you’ll also notice some more clay pots scattered about the place. Funny how they keep turning up. Kill the Moblins and use your remaining key on the door to the south.
Another room without enemies awaits, but there is a block puzzle of some minor triviality. As with most three-block puzzles, push the outer two blocks down one square and then the remaining middle block to the side. Then you’ll be able to continue southward.
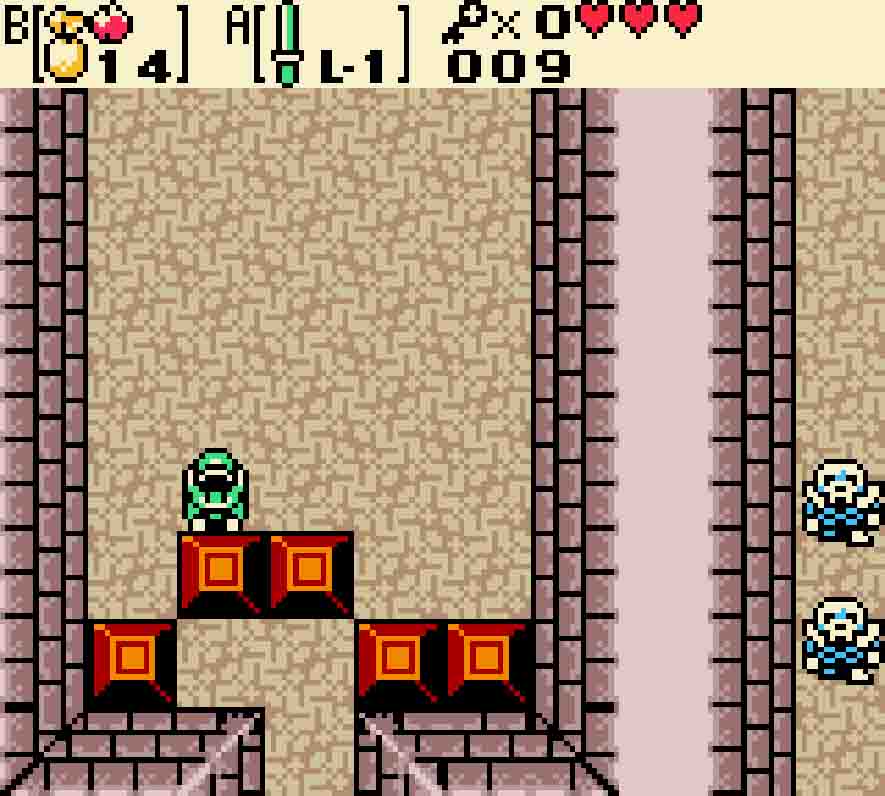
Push the outer two blocks down to be flush with the wall. 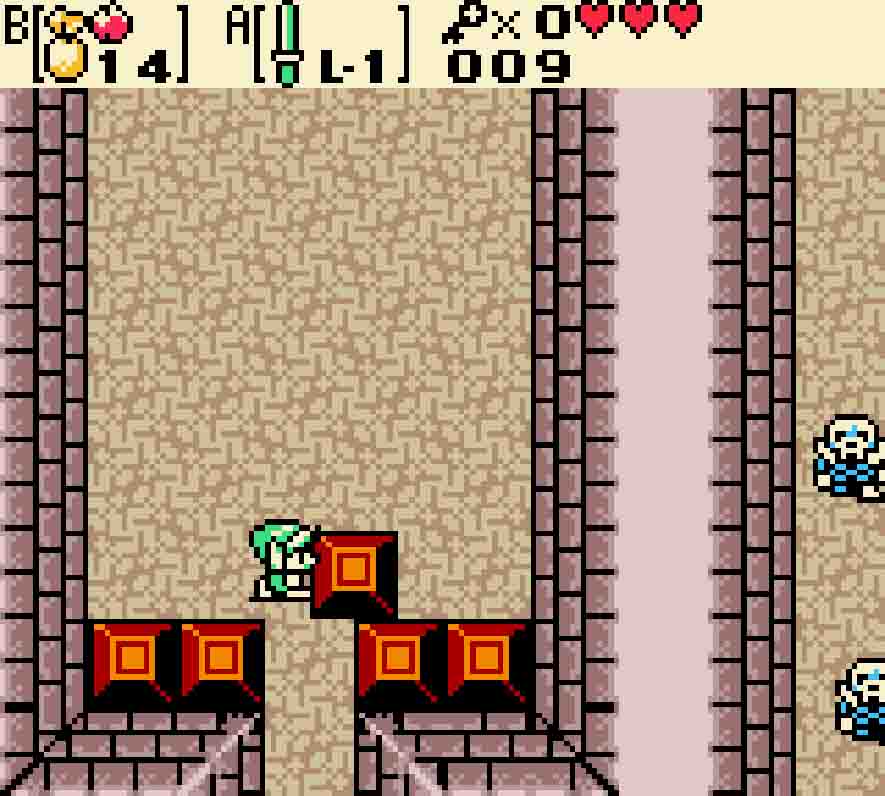
Finally, push the last block sideways so you can head south.
More blue Stalfos will await. These guys will be more than happy to walk into your sword, and you’ll probably need to put several of them to death before you can safely make it through the narrow corridor. There’s only one real passageway here without running into a dead end, and that’s taking the northeastern exit out of the room.
Kill the two Stalfos awaiting you there, but then you’ll need to bring out your Ember Seeds. Light the two unlit torches at the room’s end in order to cause a secret staircase to open up in the center of the red tiles. Head downstairs, and you’ll enter the dungeon’s only side-scrolling segment. Head down the ladder, and then climb the other ladder so you can reach the Power Bracelet, which will allow you to lift all those clay pots you’ve been seeing in the dungeon.
Pick up the Boss Key
Head back upstairs, and then return southward to the otherwise dead end. With the Power Bracelet upon your wrist, you can now pick up the pottery and smash it into the walls. This will give you access to the stairs to the raised platform. A chest awaits, and this will give you the Discovery Ring for your collection. Once you’ve got it, continue southward.
You’ll now get a chance to explore new concepts with the Power Bracelet. There’s a pot and a switch. The switch will open the door, but this one will only remain activated so long as something is on it; once you step off of it, the door will slam back shut. To open the door, equip the Power Bracelet, but don’t pick up the pot. Instead, simply push it to the right two squares, much like you were pushing a block. Once the pot is atop the switch, the door will open, and you can continue eastward.
Don’t pick up this pot! Instead, push it to the button. 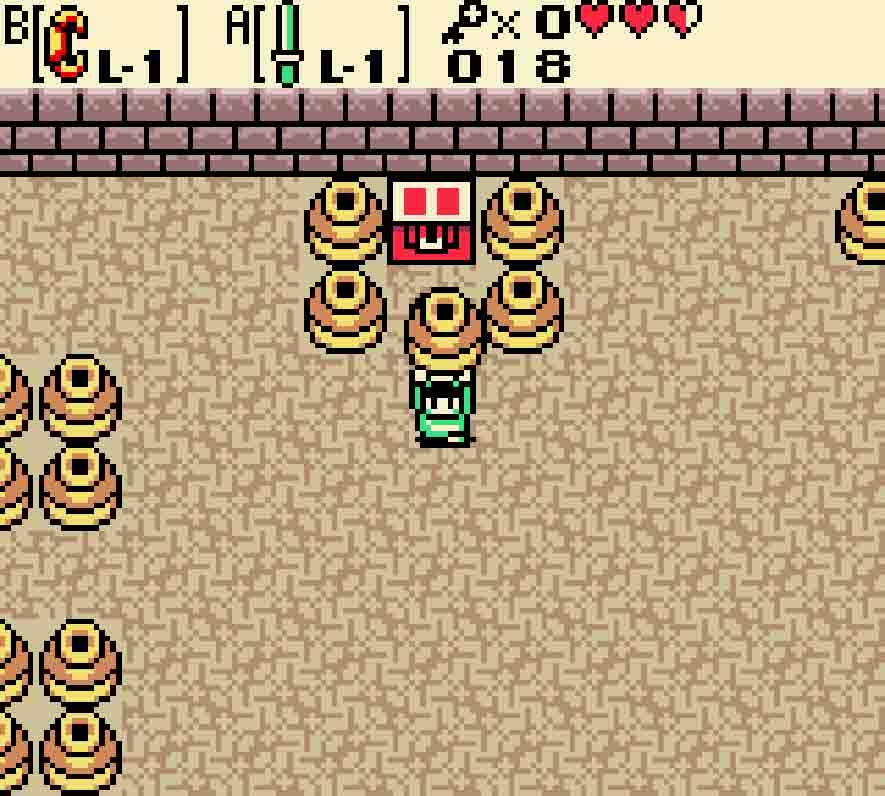
The Boss Key is finally within sight.
Three blue Stalfos await, and you can skewer them with your sword after you excavate yourself from the tight pottery enclosure. There’s a chest along the northern wall that looks promising. Pick up the pot just in front of it and open the chest. You’ll finally have the Boss Key, exactly what you need to finish the dungeon.
Enter the boss’ lair
With the Boss Key in hand, head east. Suddenly you’ll be back at the beginning of the dungeon. However, you’ll notice that the teleporter from the mini-boss’ room now appears here as well. The easy shortcut back to the dungeon midpoint is to take the teleporter. Once you’re in the Giant Ghini’s room, return northward to the room with the many bushes. From there, head northward.
You’ll now have to face one of the worst enemies in the game, the Wallmaster. These hand-shaped enemies live on the dungeon’s ceiling out of sight. Every so often, one will fall from above and try to catch you in its grip. The advantage of being hit is you won’t take damage; however, the bad news is that it’ll take you to the dungeon’s beginning. Thankfully, it’s not far from there to here, but it’s still good to not get caught. Always be moving, and quickly unlock the boss’ door on the east side of the room.
Defeat Pumpkin Head
The final boss of this dungeon is the illustrious Pumpkin Head. Are you scared? You really shouldn’t be. This elaborate disguise masks what is really a rather unthreatening enemy.
Pumpkin Head will chase you around the room. It won’t shoot at you; it will simply chase you. Put the monster to the sword, and after several strikes, the body will disappear, leaving its large pumpkin head to fall upon the ground. What do you do with it then? Why, you should use the Power Bracelet to pick up the pumpkin off the ground.
First, you’ll need to slash at Pumpkin Head’s body. 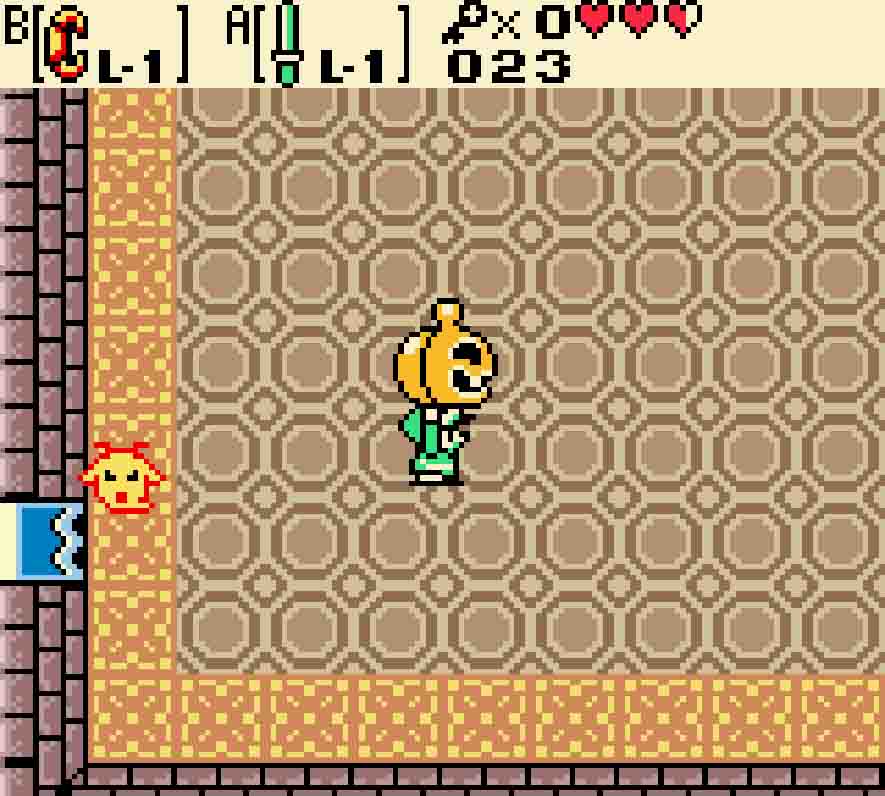
Once the body disappears, use the Power Bracelet to pick up the head. 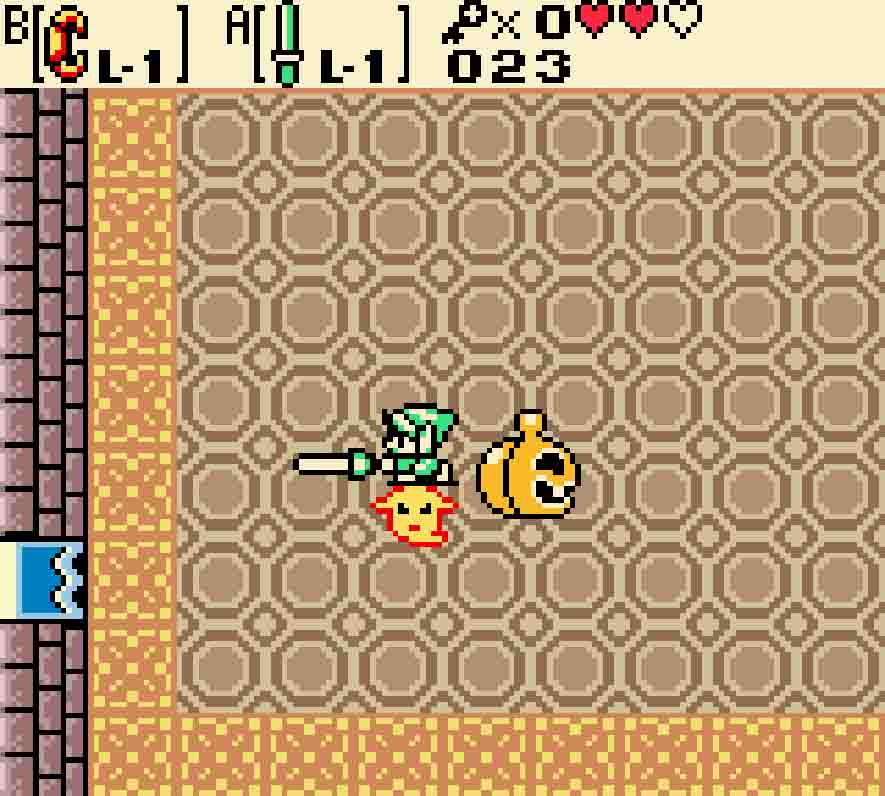
It’s the ghost underneath that’s the real boss. Hit it while it’s exposed!
Doing so will reveal this tiny Ghini underneath that’s been possessing the costume. Throw the pumpkin as far from the Ghini as possible, and then turn your attention to the miniature ghost. The ghost will run straight for the Pumpkin Head to protect itself, so stay out of its way; however, do give it a vicious slashing as it beelines for its mask.
Once the Ghini reaches the Pumpkin Head, it will reform itself, body and all. All you need to do is simply rinse and repeat until the Ghini is destroyed. Once it is killed, you will receive a Heart Container as well as the Eternal Spirit, the first of eight Essences of Time that you need to restore the Maku Tree’s memory.