2. Tail Cave
Table of Contents
Find Tail Cave to the south of Mabe Village
Once you have the Tail Key, travel south to return to Mabe Village. Your next destination is Tail Cave, which is located south of Mabe Village.
When you reach the village, travel south of the library and follow the path that leads to the shore. However, instead of jumping down the cliffs, turn east to visit a new area.


Continue east until you can go east no further. Then, the path will turn south, west, and then south again. Follow the bends in the path and then turn east.
There, you will find the locked entrance to Tail Cave. Approach the statue with a keyhole to unlock the first dungeon. Then, hurry inside.
Obtain the compass and map
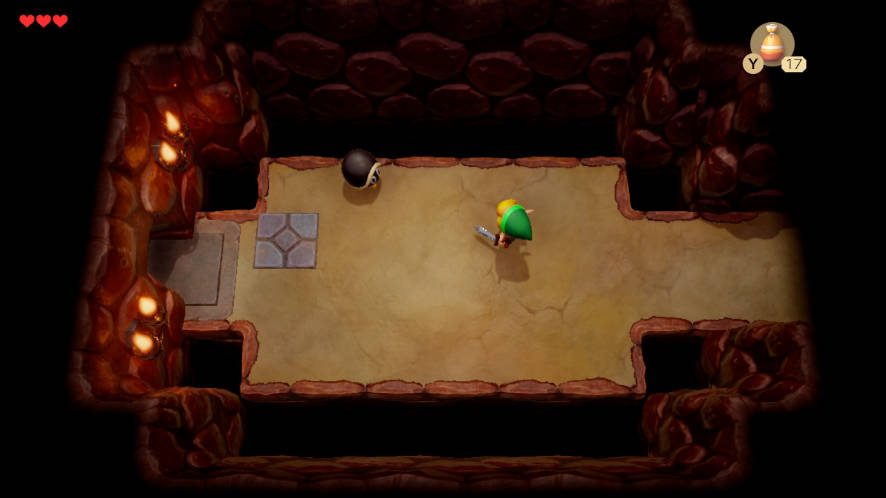
When you enter the dungeon, first travel west. You’ll discover two Hardhat Beetles, but nothing you have in your possession will kill these monsters. Instead, use your sword to knock them back into the pits at the north and south edges of the room. When both Hardhat Beetles are defeated, you will earn a Small Key.
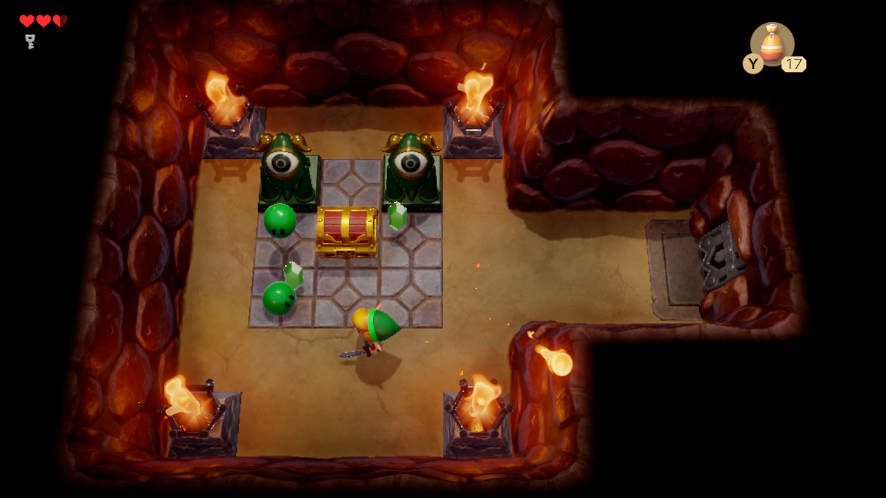
Right/Bottom: The Compass is in the treasure chest, but watch out for the Zols!
Once you have the key, go west into the next room. The door will seal behind you. There is a treasure chest in the center of the room; four Zol will attack when you approach it. The nearby torches will also shoot fireballs in your direction until the Zol
Return to the dungeon entrance and go north.
There is a rather inviting switch near the center of the next room on the other side of the hole in the floor. Defeat the two Gels and then knock the Hardhat Beetle into the hole. Step on the switch to make a treasure chest appear. Open it to get another Small Key.

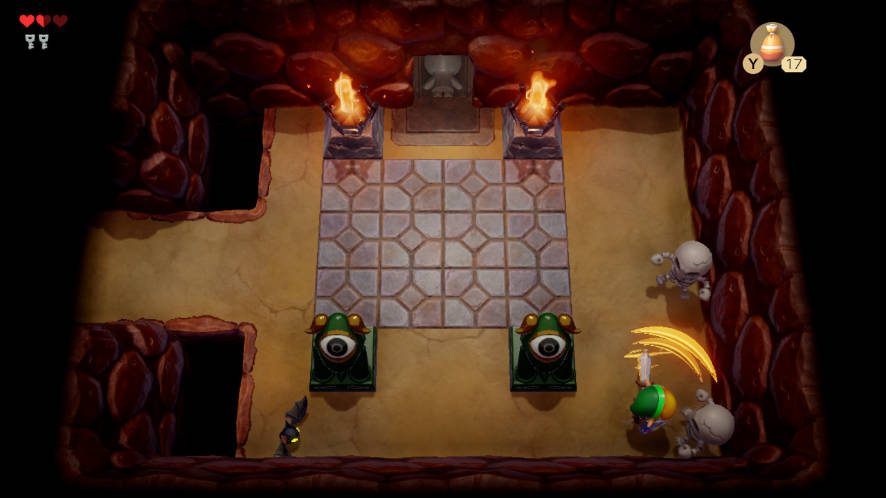
Right: Bottom: Defeat all the enemies in the room to earn the dungeon Map.
Then, go east. Defeat the Keese and Stalfos in this room to earn another treasure chest. Inside is the dungeon Map.
Collect Roc’s Feather to learn how to jump!
With the Map in your pocket, step into the one-way door on the north wall. head north. Then, immediately travel west.

The next area contains a Mini-
Continue west and then turn north to find the first locked door. The door is blocked by a Trap. Spring the Trap, and then as it’s pulling back, cross its path to reach the locked door. Unlock it and proceed onward.
The next two rooms are joined. First, go east. Follow the path east and navigate around the block patterns to the north and then west. The door on the west wall is sealed. Push the block on the far left to the right one square, and the door will open.
The next room is a dead end, but the way forward will open if you defeat the two Spiked Beetles in the room. You cannot hurt their hard shells, so you need to expose their underbellies to defeat them. To flip them over, bump into them with your shield. Then, quickly attack with your Sword. A staircase will appear when both Spiked Beetles are defeated.
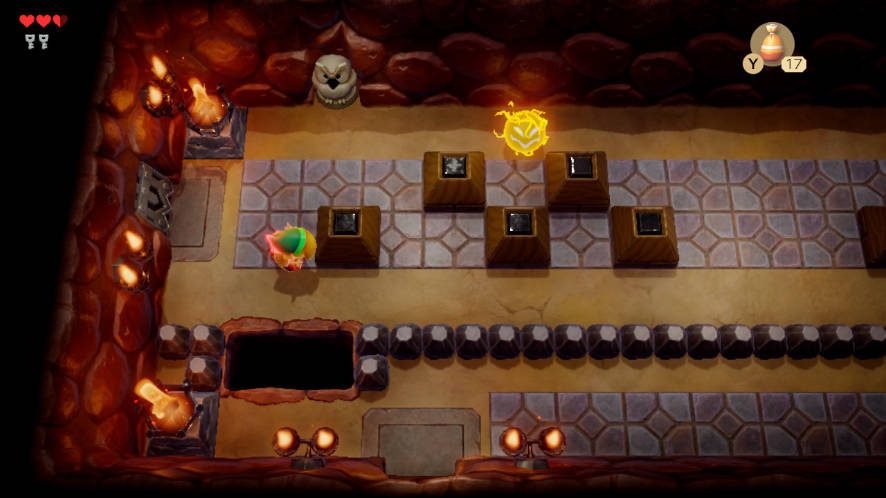

Second: Use your Shield to flip over the Spiked Beetles.
Third: Defeat the Spiked Beetles to find a secret path. Roc’s Feather will be waiting for you on the other side!
The staircase leads to a side-scrolling section. Follow the linear path to the left, defeat the Goombas, and climb the ladders you find along the way. Then, climb the ladder on the far left side of the area to enter the next area of the dungeon.
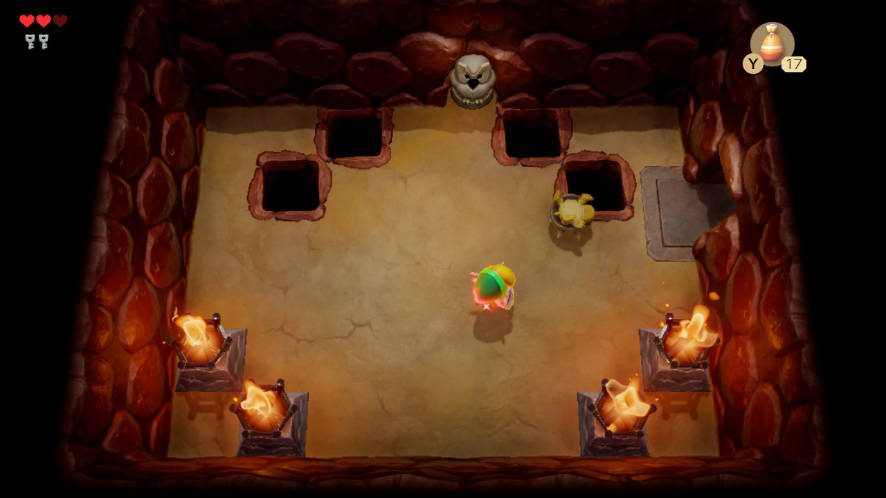
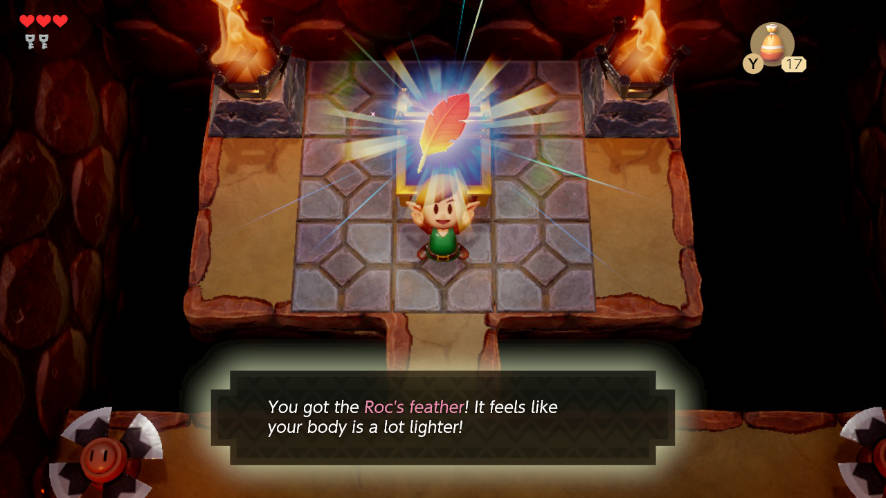
From here, all you have to do is head north through a narrow hallway. At the end of the hallway is a treasure chest guarded by two Traps. Spring the Traps, and then walk between them when they’re retracting to reach the treasure chest. Roc’s Feather is inside the treasure chest.
With Roc’s Feather, you can jump! This is super helpful for the side-scrolling areas, but it will also help you reach new areas and take shortcuts by jumping over pits!
Use Roc’s Feather to find the Nightmare Key

Now, you need to backtrack through most of the dungeon. You need to return to the room where you found the third Small Key inside the treasure chest guarded by a Spark. Fortunately, Roc’s Feather will make the return trip a little easier.
Travel south and re-enter the staircase to return to the side-scrolling area. Now, you can jump across some of the platforms to reach the far right side more quickly.
Continue up the far right ladder to return to the room with the Spiked Beetles. You don’t need to defeat them again; just head through the door to the east. Then, you can immediately head south by jumping over the one-square-wide pit to the south, taking the shortcut back into the heart of the dungeon.
Dodge the Trap and continue heading south, but turn east when you encounter a Mini-

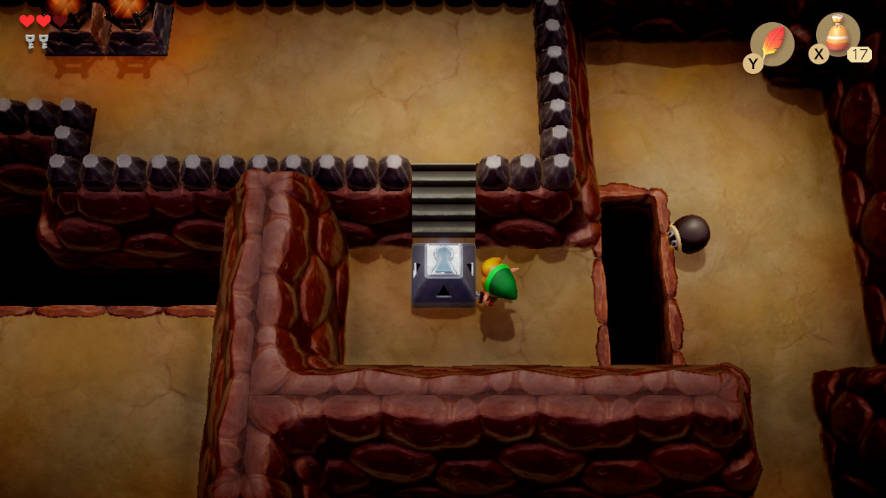

The next room contains a Hardhat Beetle that can be tricky to kill, but thankfully defeating it is not required. Jump over the gap to the left to reach the locked block. Unlock the block with your second Small Key to make the block disappear. Then, you can climb the stairs and go west.
There you’ll find a treasure chest on the dais. Open the chest to receive the Nightmare Key, the Key that leads to the boss of this dungeon.
Obtain the Stone Beak
The only way off the dais is the way that you came, so head east, jump over the pit, and then proceed south and west to return to the room where you found the third Small Key. Take the south exit this time, and then open the locked door to the east wall with your last Small Key.
In the next room, dodge the Stalfos and Sparks and travel north.

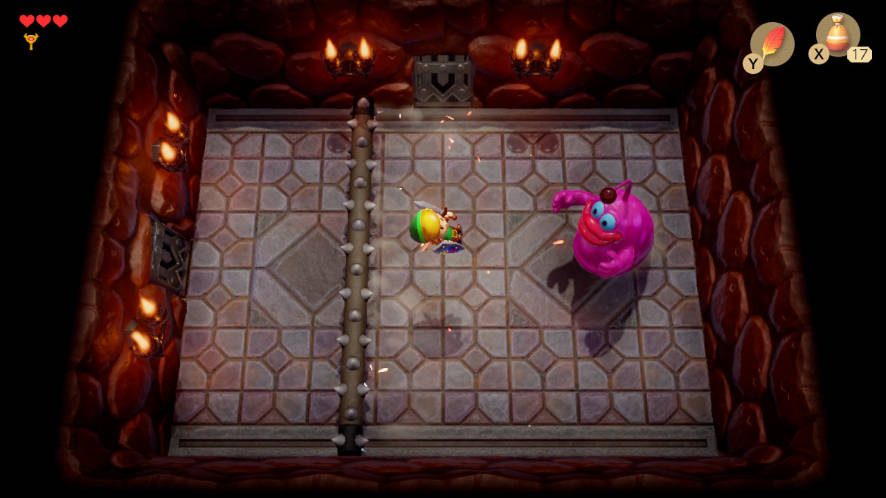
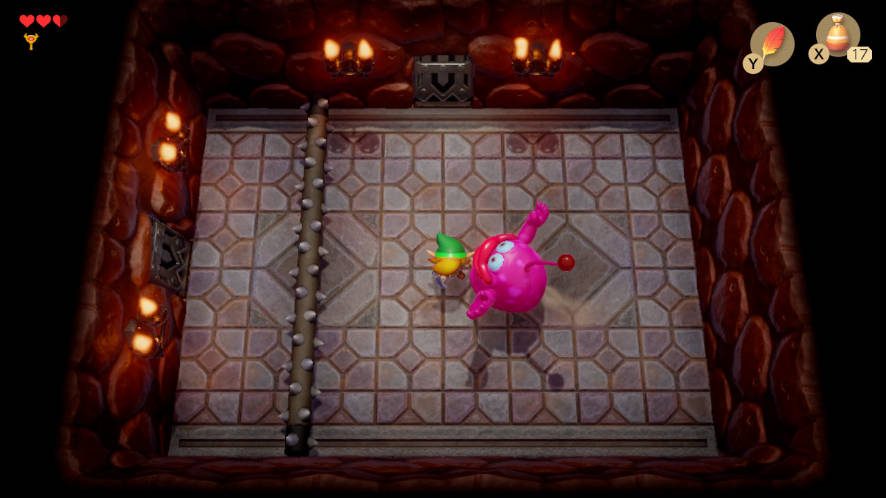
You will then encounter a trio of what is likely the
Once you defeat all three, a treasure chest will appear, and you can get the Stone Beak (called a Stone Slab Fragment in the original GameBoy version).
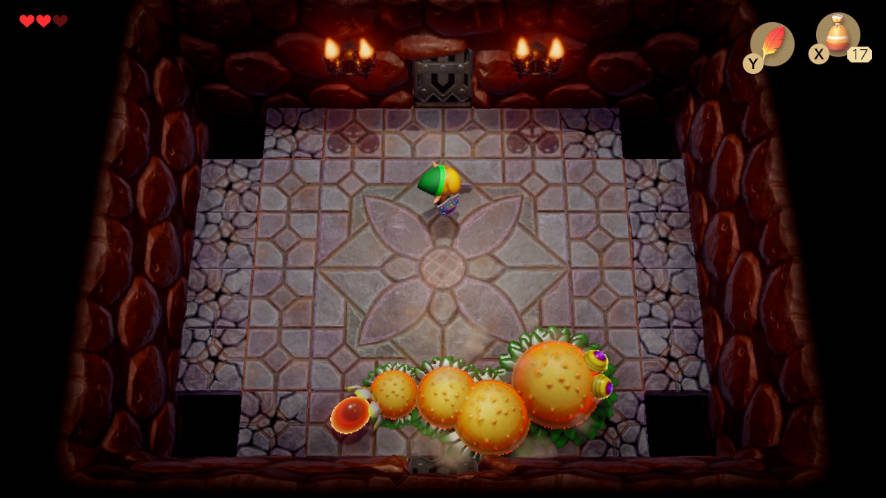
Leave the room, and jump over the pit on the east side of the next room to encounter Rolling Bones, the miniboss.
Miniboss: Rolling Bones
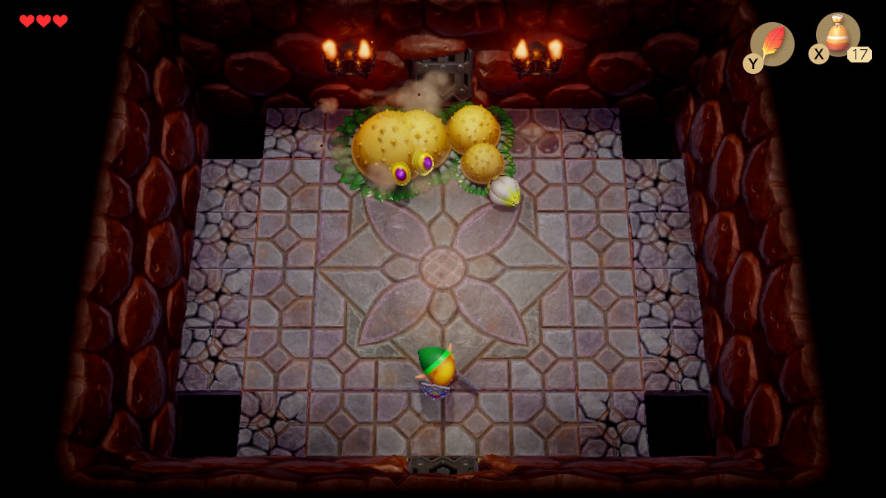
Rolling Bones only attacks with a Spiked Roll that it pushes towards you. The Spiked Roll spans the length of the room, so the only way to dodge it is to jump over it with Roc’s Feather.
Jumping over the Spiked Roll will leave Rolling Bones defenseless for a few seconds. Use this time to attack with your Sword.
Right/Bottom: Then attack with your Sword!
This is a simple fight with a very repetitive pattern. Continue jumping over the Spiked Roll and attacking with your Sword until Rolling Bones is defeated.
When the miniboss is defeated, continue north to reach the last room before the dungeon boss. This room has a Trap in each of the four corners, so walk carefully or jump over the Traps. You will see a staircase here, but you can ignore it for now. Instead, use the Nightmare Key to unlock the door on the north wall.
Boss: Moldorm
You now have to defeat a full-sized Moldorm! It is completely invulnerable except for its bright red tail. Moldorm will move around the room at a steady pace and try to push you into one of the holes in the corners of the room. The edges of the room have cracked floors, so avoid standing on them unless you must.
Roc’s Feather can help you dodge Moldorm as he moves around the room.
Right/Bottom: You cannot hurt Moldorm when its tail is closed.
Use your Sword to attack Moldorm. After you successfully hit Moldorm’s tail, it will start to speed up erratically for a few seconds until it settles down to a slower pace. During this phase, Moldorm will close its usually vulnerable tail, so you should be on the defensive until it slows down and its tail becomes vulnerable again. After the third hit, Moldorm won’t slow down; you’ll just need to dart in and whack its tail a fourth time.
If you fall into the pits on the left and right sides of the room, you will fall into a side-scrolling basement. Follow the path to the right and up the stairs to reach the room just outside Moldorm’s chamber (this is the staircase you ignored earlier). Each time you fall, Moldorm’s recovers its full health. You need to get four strikes without falling to defeat the boss.
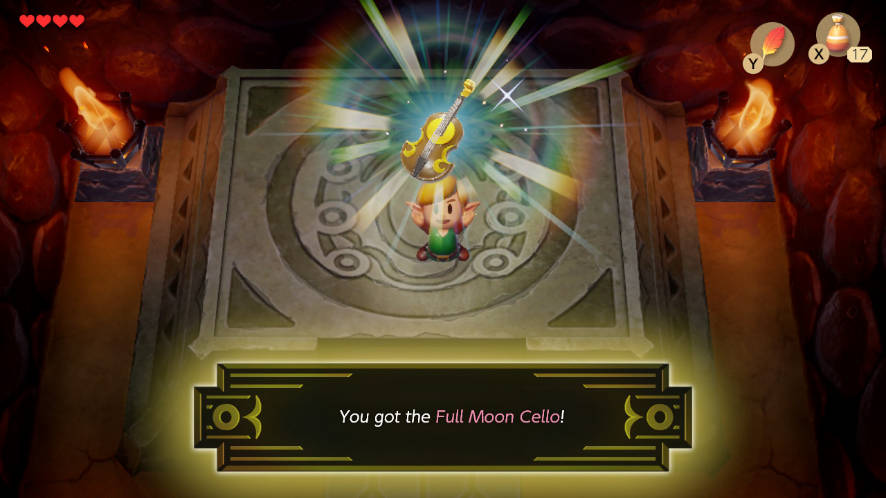
When Moldorm is defeated, pick up the Heart Container and head north to claim the Full Moon Cello, the first of the eight Instruments of the Sirens.